Register your store
Don't have store yet?
Shopify Information
To install this theme you must have a working version of Shopify already installed. If you need help installing Shopify, follow below sites and tutorials from Shopify.com, hope everything that you need are there.
- Online Shopify guide - Online Shopify documentation that describes about Shopify in detail.
- Shopify Forum - Shopify forum site.
Or We'll help you
Email me [email protected] your order details, store name and demo you like.
You will get:
- Development store. No need to pay for time when you testing and configuring store. Transfer ownership when store is ready.
- Free theme installation
- Requiered app installation. Reviews, Wishlist, Compare. (Other apps may need additional fee)
- Import demo settings
- Import demo content (blogs and pages only)
Shopify software documentation
Note: If you familiar with Shopify, can manage products, collections, pages, blogs and navigation, you can skip this step.
- 1Intro to Shopify
- 2Manage products
- 3Import and export products
- 4Manage product variants
- 5Manage collections
- 6Manage pages
- 7Manage blogs
- 8Manage menus and links
- 9Translating your theme
- 10Apps for your Shopify store
Note:
This theme may not be compatible with some third-party apps. It's impossible for theme authors
to make the theme compatible by default with all existing apps because there are thousands of
available Shopify apps. Authors of the app should provide detailed instruction about how to integrate the app with custom themes.
This isn't something specific to our themes, this is general rule for all Shopify themes and apps.
Install Theme
Shopify Installation
Shopify is web based ecommerce software. This means there’s no installation required and it works with all operating systems (including Windows and MacOS). You don’t have to worry about installing, upgrading or maintaining any software or web servers.
Please go to Shopify Site and choose Get Started.
Theme Installation
-
Download theme package from themeforest.net
You can purchase theme here - Unzip downloaded file and find theme archive file
- Login to your Shopify store
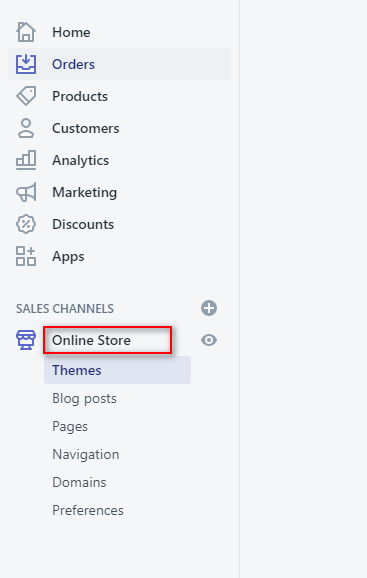
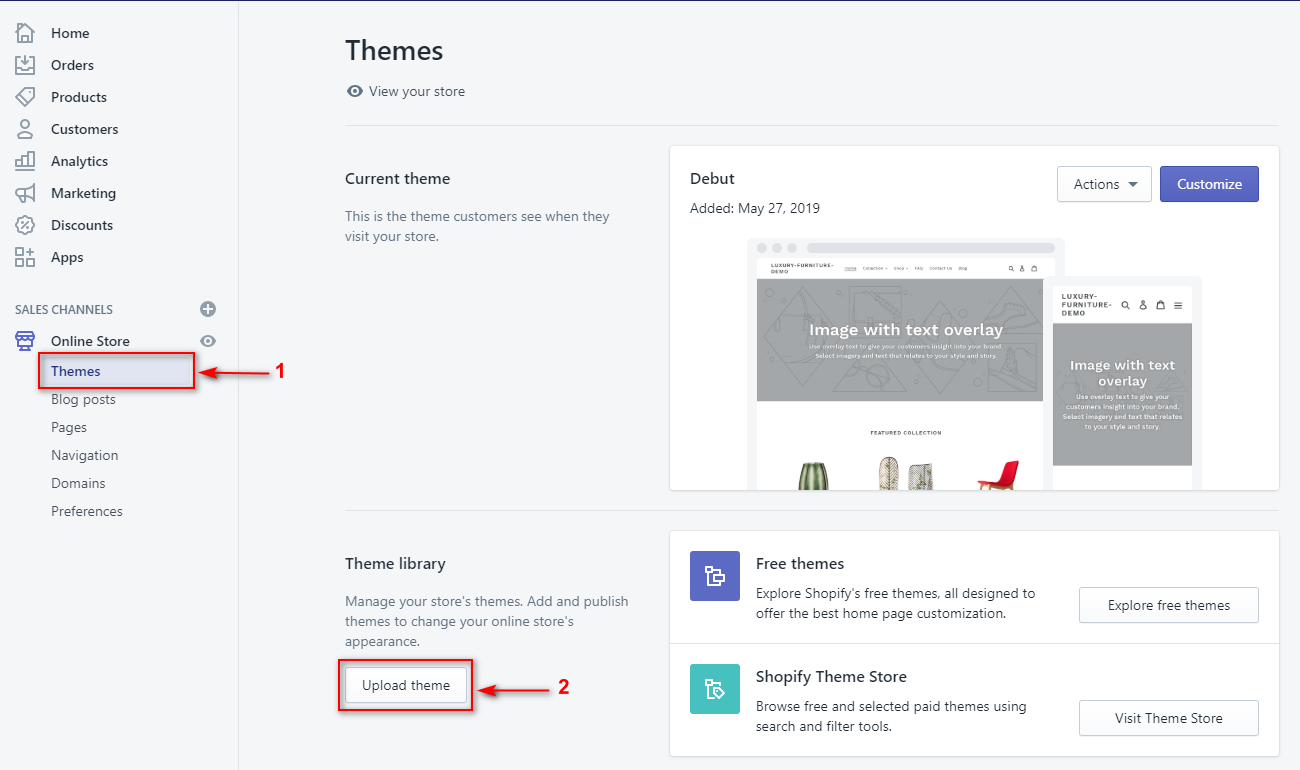
- Navigate to themes. Store Admin -> Online Store -> Themes
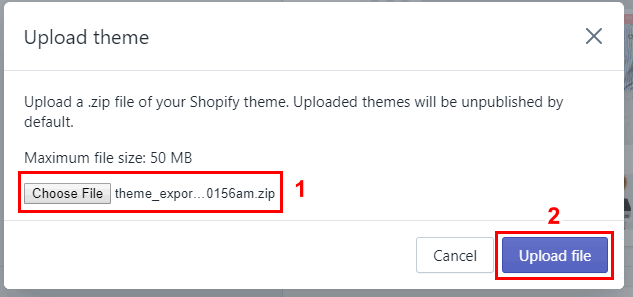
- Upload theme
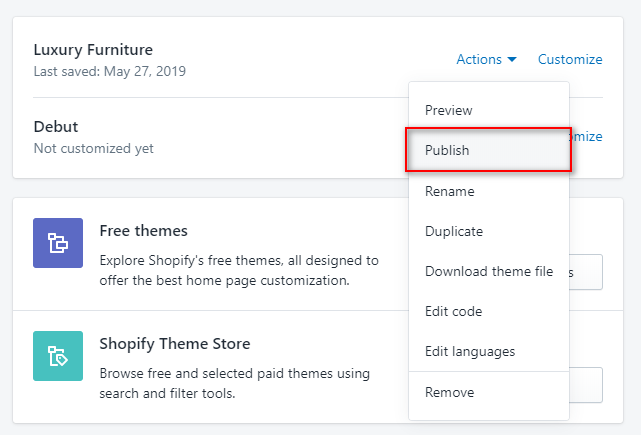
- Publish theme
Manual Guide
1. First you need click 'Online Store' .
2. Click the Upload Theme .
3. Click the Select File button.
4.Click Customize Theme to config.

5.Click Publish Theme button.
Install Apps
- Install product reviews app. (free, optional, product reviews)
- Install Product Reviews app
- Press "Add app" button and proceed with general app installation procedure.
- Set "Star icon color" to #000 at Store Admin -> Apps -> Product Reviews -> Settings
Basic Configuration
-
Currency format (optional, multi-currency)
- Go to Store Admin -> Settings -> General
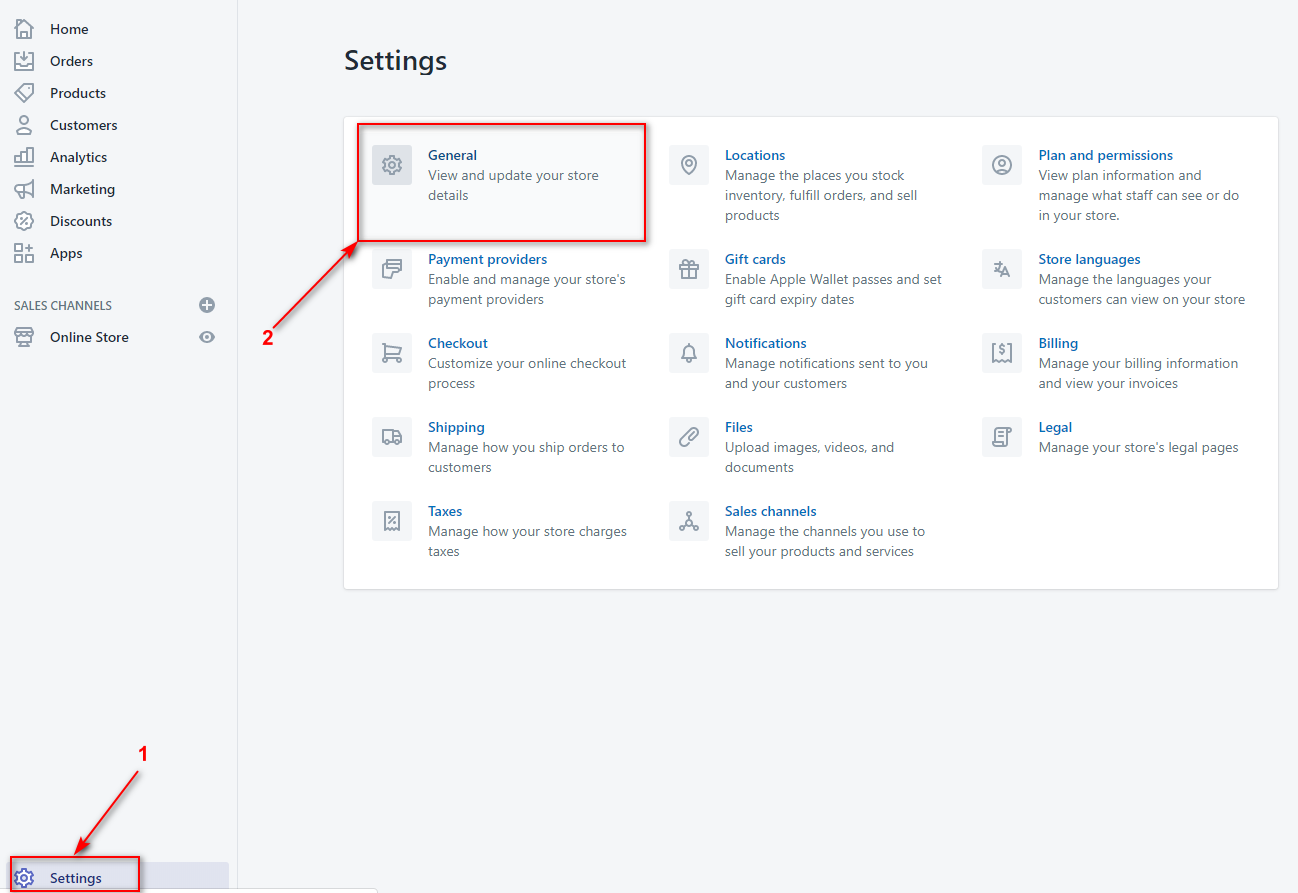
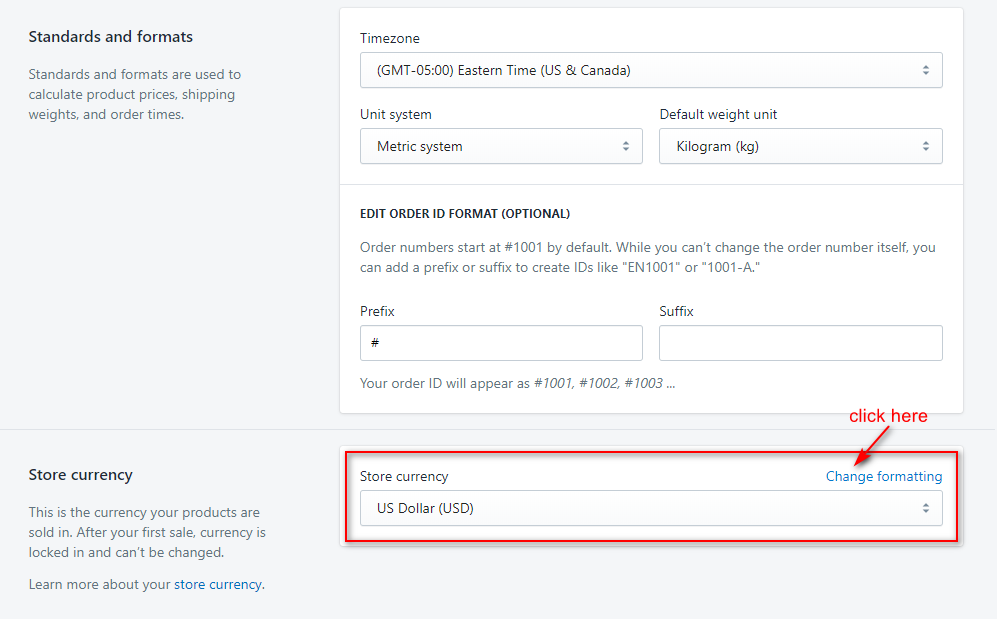
- Scroll down to Standards and formats and press Change formatting link
- Update fields:
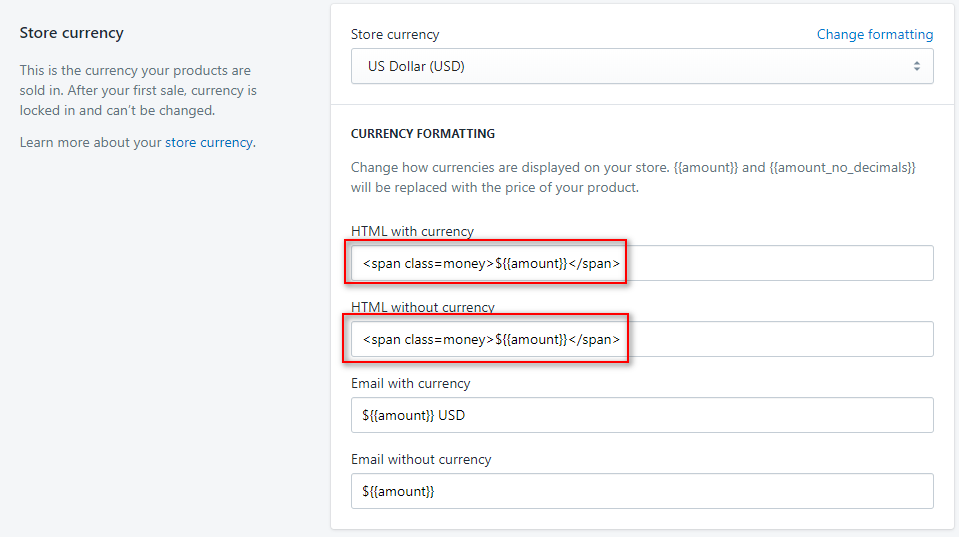
HTML with currency to
<span class=money>${{amount}}</span>
HTML without currency to<span class=money>${{amount}}</span>
- Go to Store Admin -> Settings -> General
-
Allow customer's accounts
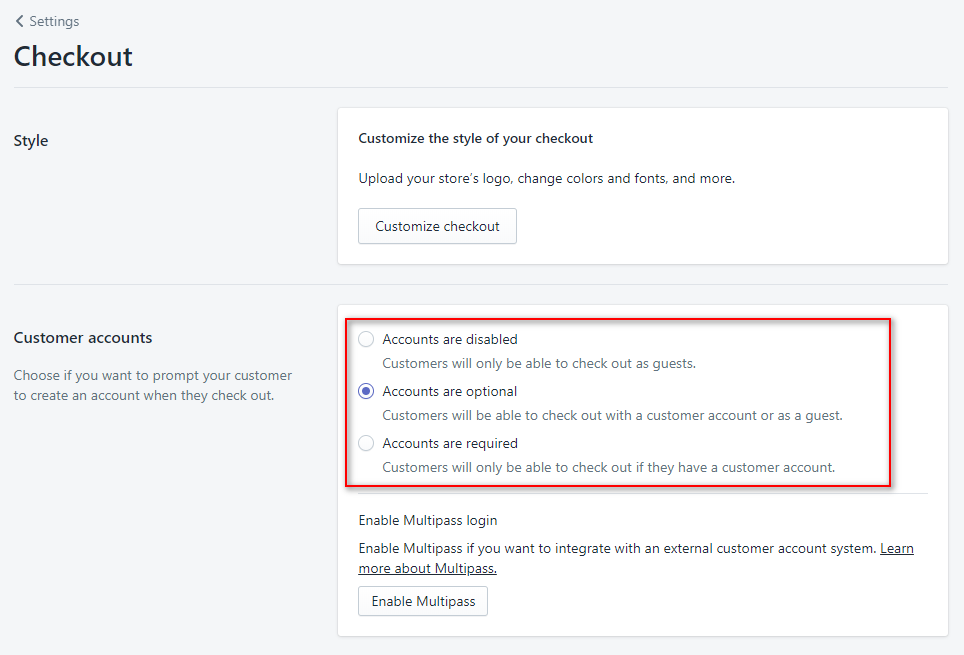
- Go to Store Admin -> Settings -> Checkout

- Find Customer accounts section
- Set value to Accounts are optional
- Save changes
- Go to Store Admin -> Settings -> Checkout
Configure Countdown
If you have limited time offer for any product, please use below rule to display the Countdown on the product detail page:

How to configure it in your site.
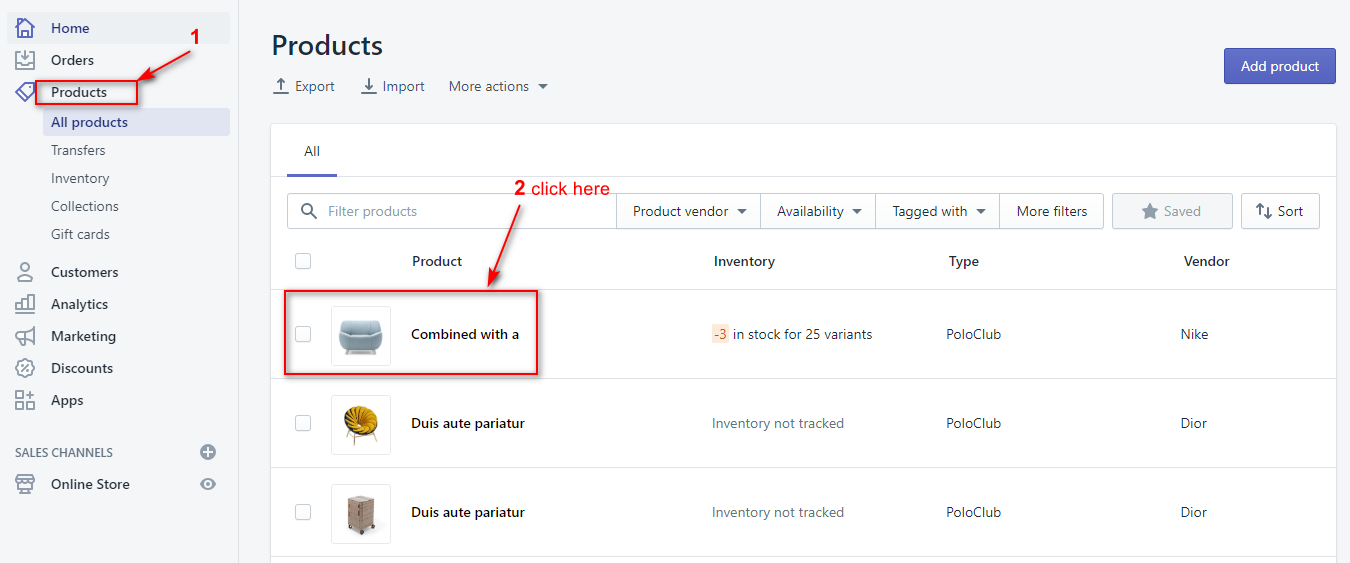
1. From your Shopify admin, click Products, then click on the product you'd like to show the countdown.
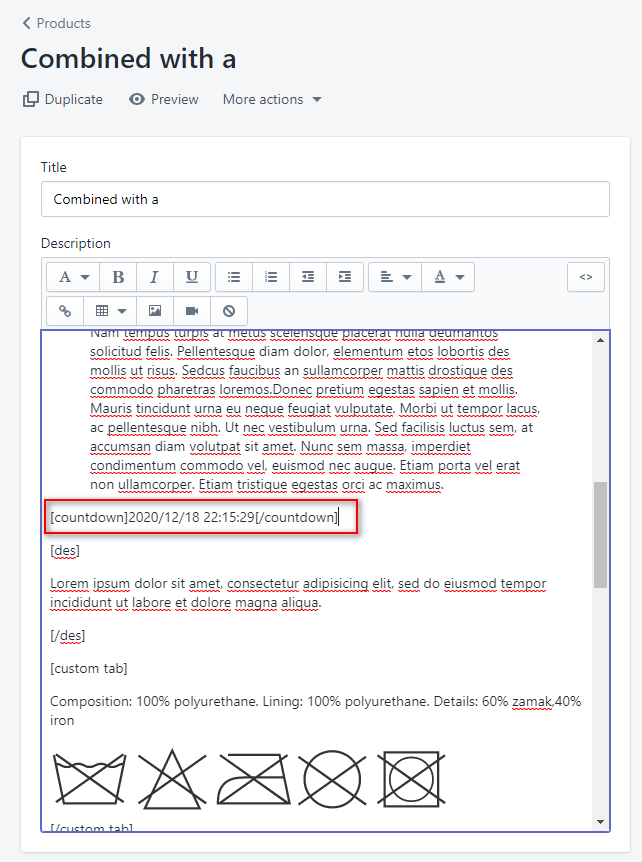
2. In description field of your products, please use this below structure/rule to insert countdown for your product. You need to insert this countdown structure at the beginning of product description
[countdown]2020/11/10 10:20:00[/countdown]
Please use this exact format: yyyy/mm/dd hour/minute/second.
Examle: 2020/11/10 10:20:00.
Language Translations
Multiple Languages
How are you going to create a website where can show multiple pages of the same thing, but in different languages? It's easy to use this function in our theme.
Before we begin setting up Multiple Language, you need to read these below parts.
How to use Multiple Languages
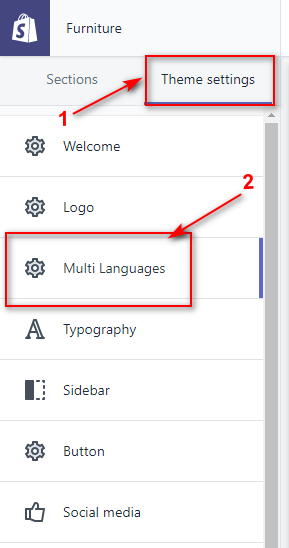
1. From your Shopify admin, click Online Store.
2. Click Customize for the theme you want to customize.
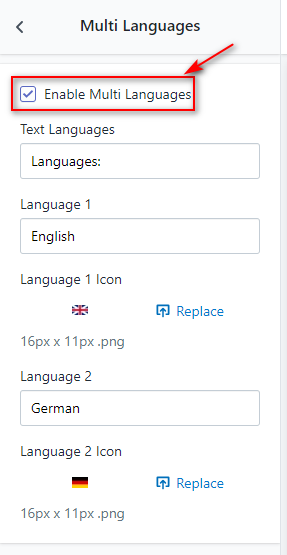
3. At Multi Languages sections, check Enable Multi Languages, then fill in the name of 2 languages and upload icons you'd like to show at Language 1 and Language 2
Click Enable Multi Languages
4. After that, choose the language from the Languages page.
Multiple Languages in Menu & Theme Setting
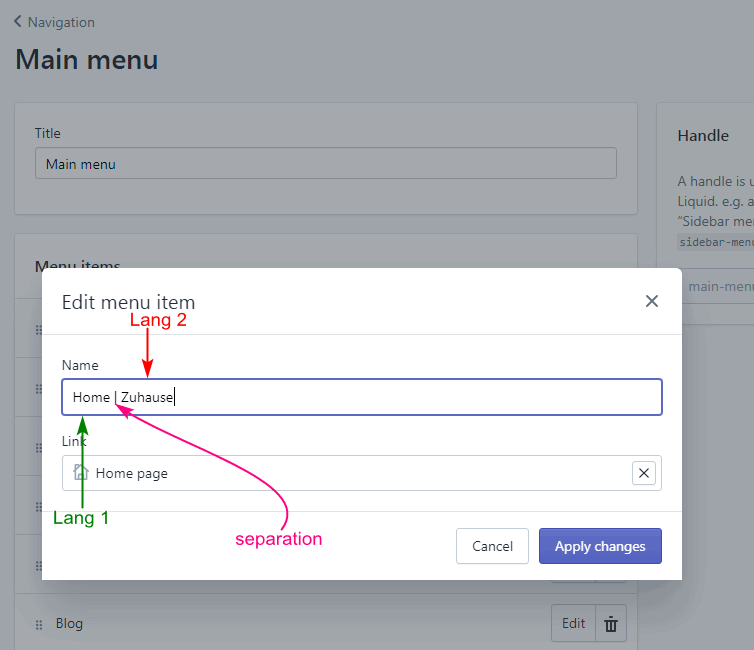
Click Edit menu at the menu you'd like to show multiple languages.
After that, change text by following this structure: Lang 1 | Lang 2
Do the same for Theme Setting.
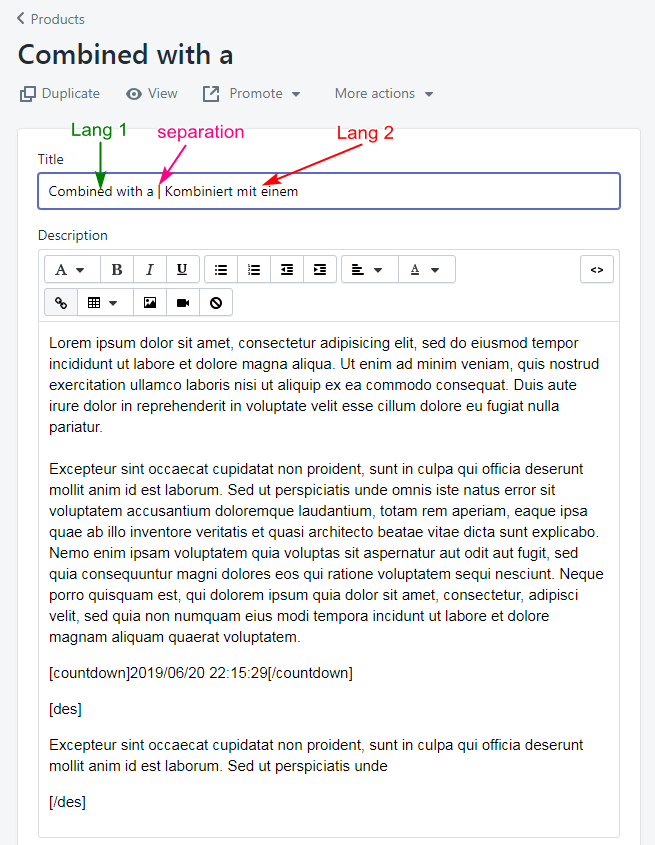
After that, change Product title by following this structure: Title Lang 1 | Title Lang 2
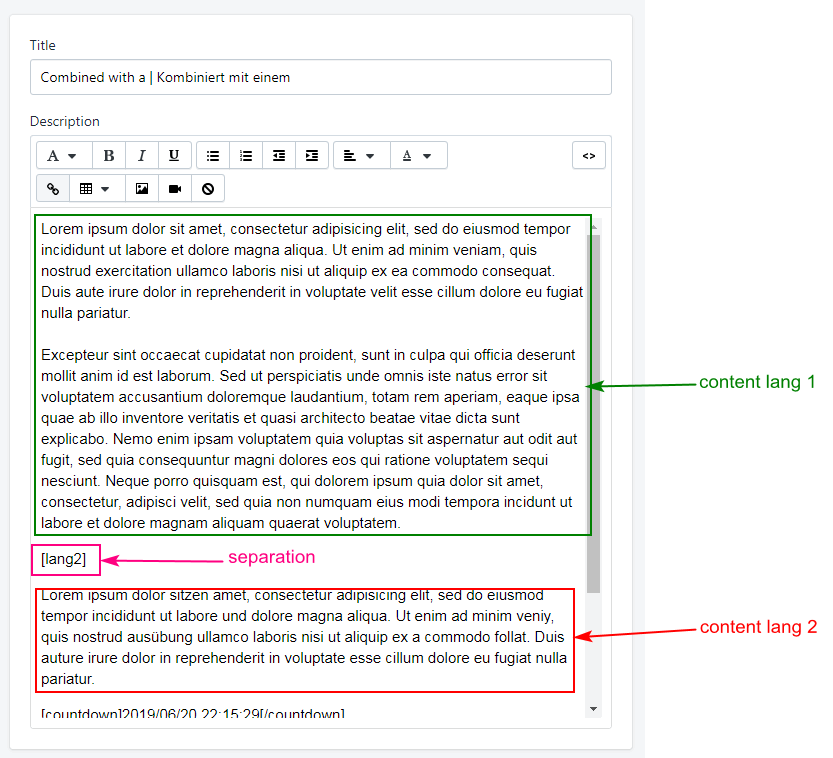
Multiple Languages in Product Description
The Product Description of product needs to be put by following this structure: Content Lang 1 [lang2] Content Lang 2 .
How to translate on theme
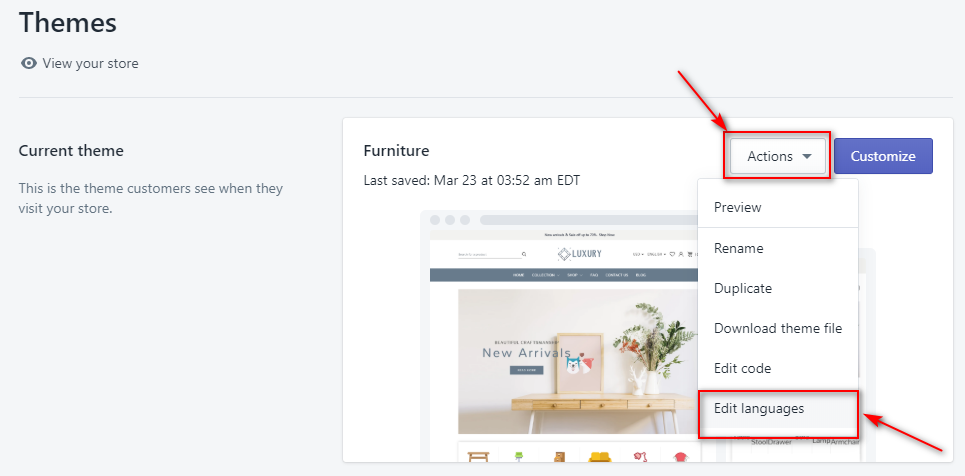
Login to your Shopify admin panel and go to Online Store --> Edit language
- If your languages which you'd like to show are created before, you need to complete the translation of them. (You can read here to view or update a translation.)
- If your languages which you'd like to show didn't create before, you need to create the new translation. (You can read here to know how to create the new translation.)
After completing the translation, you need to:
Go to Themes --> Edit Code.
At Locales folder, it contains files of translation. Please open the file of Lang 2 (for example: open en.default.json file), copy the content of this file.
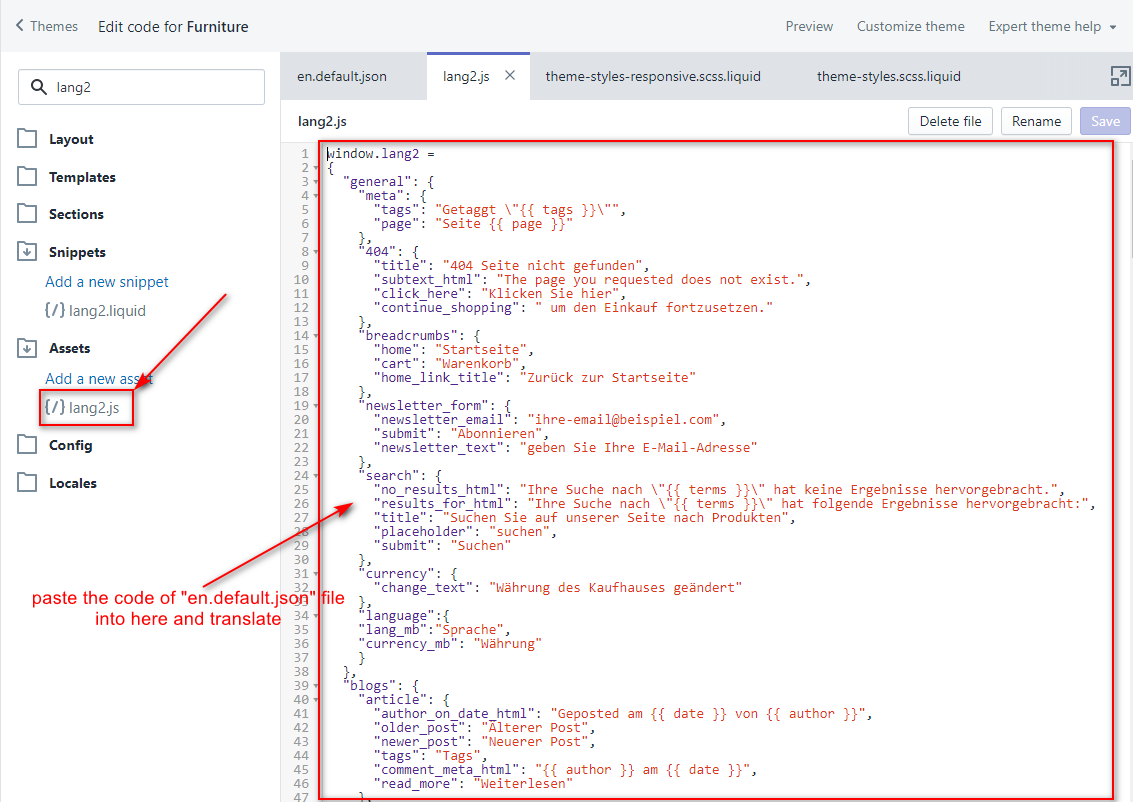
After that search & open lang2.js file, paste the content of en.default.json file into this file from the second line.
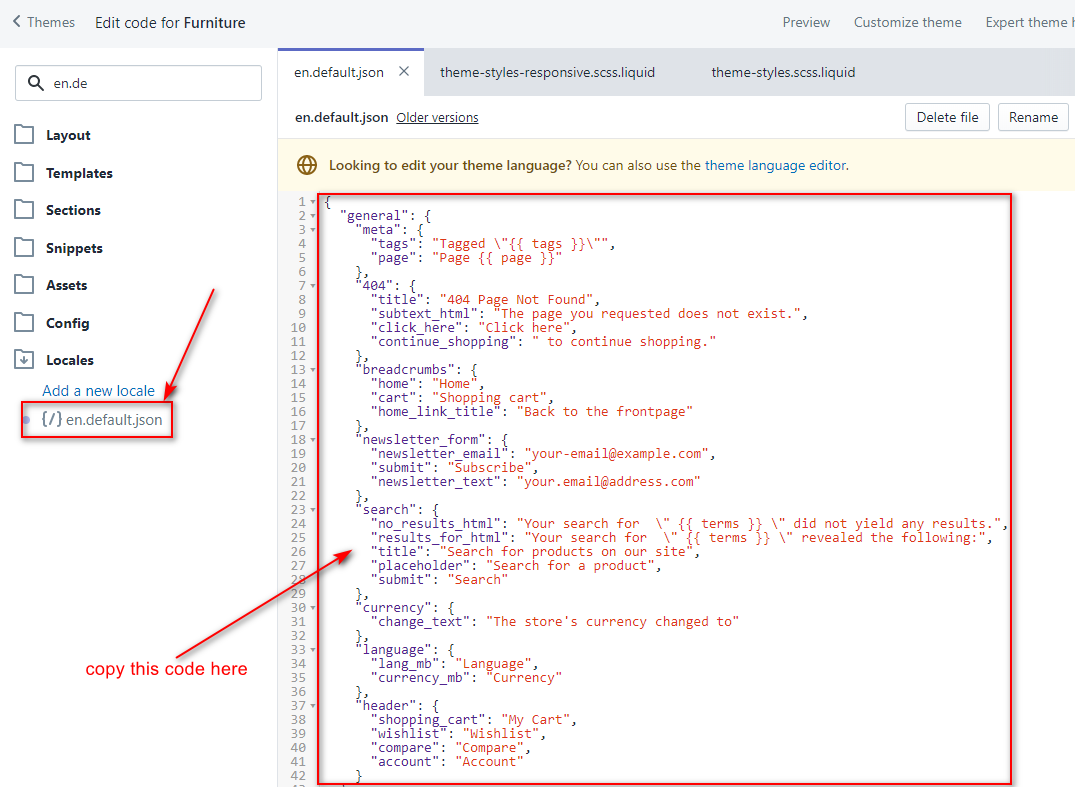
Then paste the code of "en.default.json" file into "lang2.js" and translate
Menus
Theme Naviagations

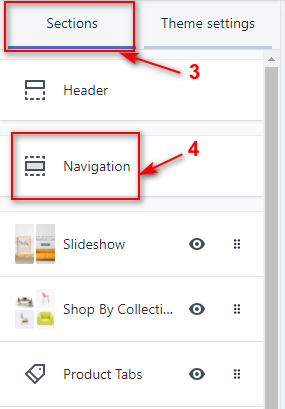
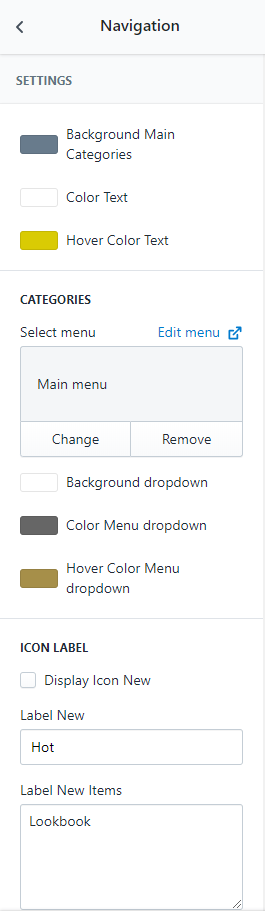
Go to Online Stores > Themes > Customize theme > Sections > Navigation

Settings color section here
Setup
Before you begin customizing your store, we would like to notice that this section will help you to have some collections and products added and a blog article written. So if you already had an active store and you are just updating your design, you don't need to read this part. Otherwise, here are some links to help you to set up your new store:
- How to create a collection
- How to create a smart collection
- How to create a product and add it to a collection
- How to create a blog and write an article
Create a menu
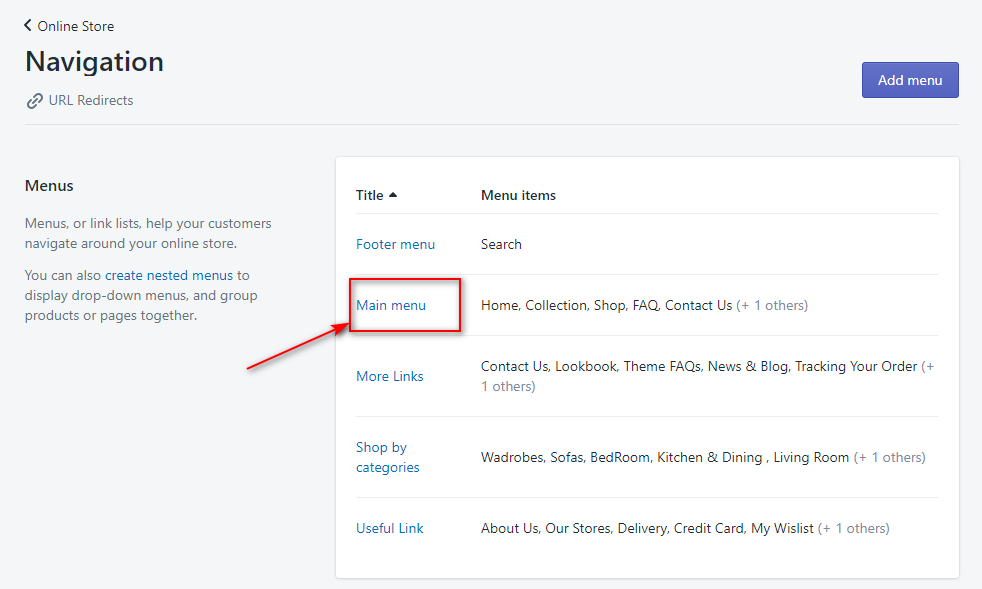
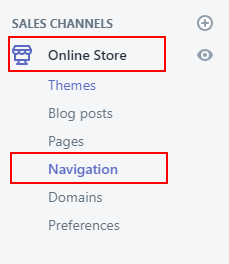
1. From your Shopify admin, click Online Store, then click Navigation:
2. On Main Menu menu, click Edit menu.
3. Add, remove, or edit menu items in your online store https://help.shopify.com/en/manual/sell-online/online-store/menus-and-links/editing-menus#add-a-menu-item
Create multi-level drop-down menu
To add a drop-down menu from the main menu of your online store:
- From your Shopify admin, go to Online Store > Navigation.
- Click the title of your main menu.
- Choose one of the menu items to be the header for your drop-down menu, or add a new menu item to be the header. If you don't want the header to link to anything, then you can enter # in the Link field when you add the menu item.
- Add menu items to include in the new drop-down menu. Click Add menu item, enter the name of the menu item, and enter or select a destination for the link.
- Click and drag the menu items to nest below the header item
Set up drop-down menus in your online store https://help.shopify.com/en/manual/sell-online/online-store/menus-and-links/drop-down-menus
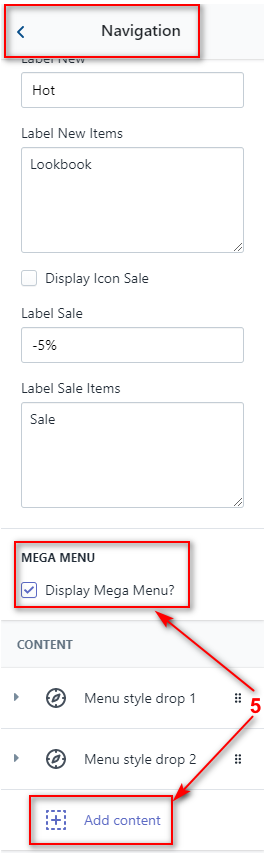
How to show Mega Menu
Step 1: You need to create multi-level drop-down menus.
Step 2: In Theme Settings, you need to check on Display Mega Menu?.
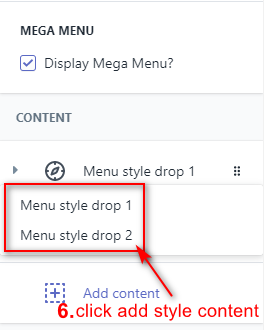
Step 3: Put items you'd like to show as Mega Menu at Mega Menu Style 1, Mega Menu Style 2 and choose the Style Which is suitable for your option in Settings.
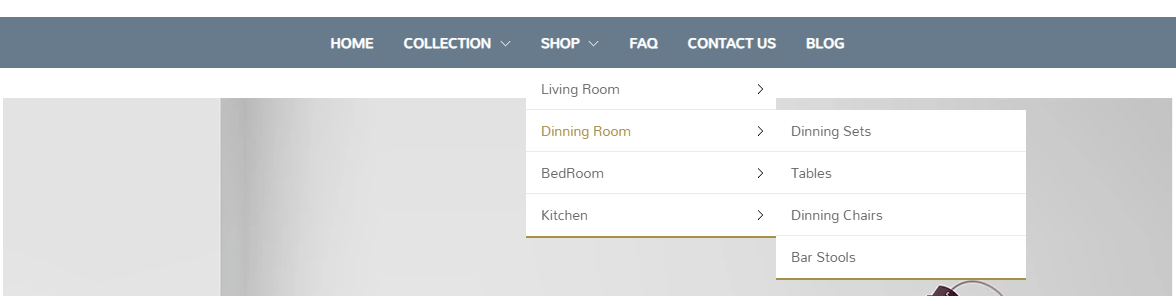
Step 4: On your site, it will have 2 styles of Dropdown Mega Menu.
Step 5: In Themes --> Customize -> Sections -> Navigation and Logo, at Content click add content to choose style.
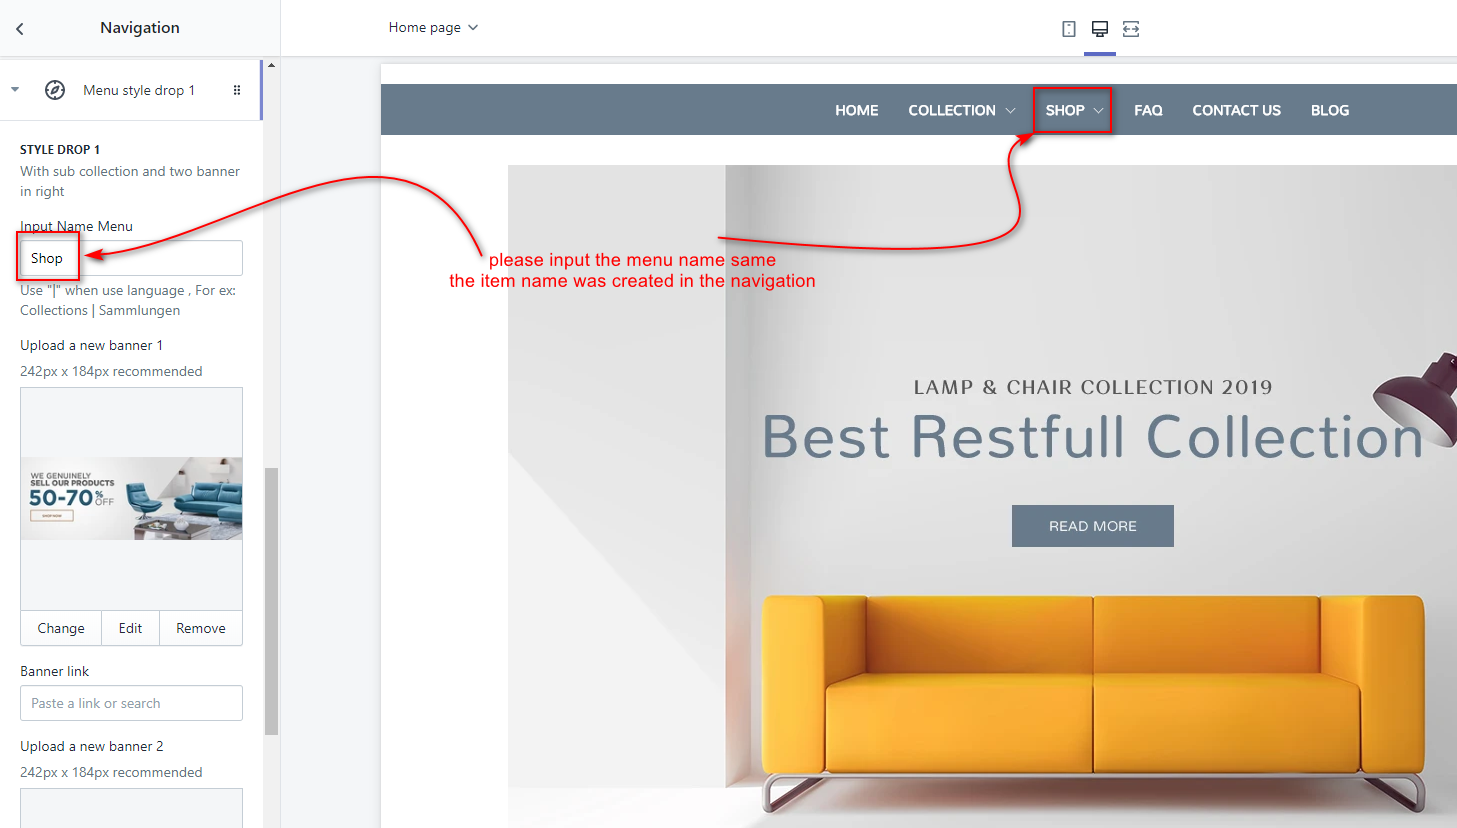
Show Mega Menu Style 1
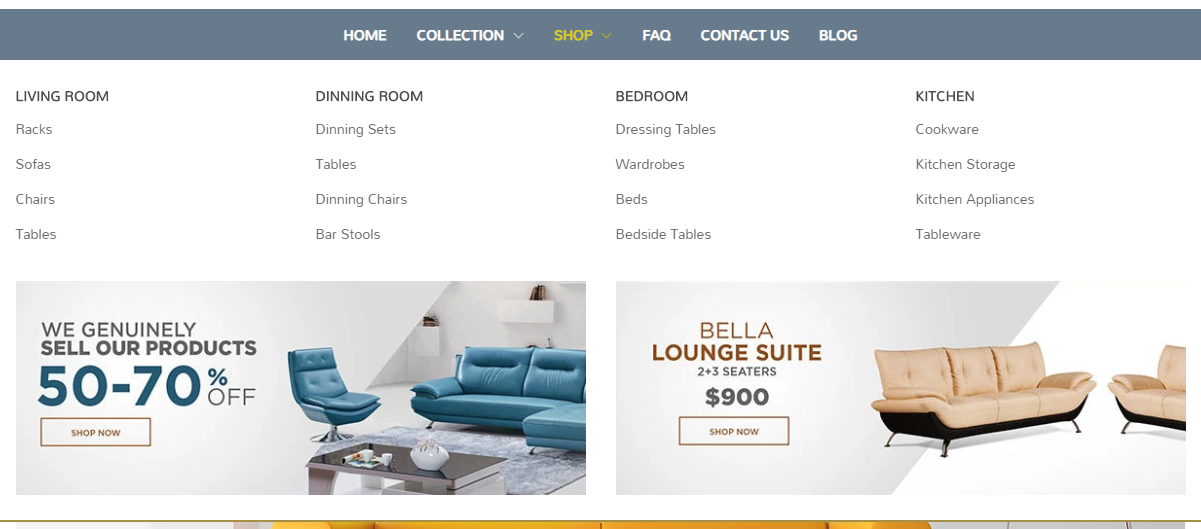
You'd like to display "Shop" as Mega Menu Style 1, you need to:
1. Create the "Shop" menu in Navigation and the multi-level drop-down menu belongs to "Shop" (How can I do that?).
2. In settings of Themes --> Customize -> Sections -> Navigation, at "Content" click Mega Menu Style 1 and put Shop text into Mega Menu Item 1.
Show Mega Menu Style 2

You'd like to display "Collection" as Mega Menu Style 2, you need to:
1. Create the "Collection" menu in Navigation and the multi-level drop-down menu belongs to "Collection" (How can I do that?).
2. In settings of Themes --> Customize -> Sections -> Navigation, at "Content" click Mega Menu Style 2 and put Collection text into Mega Menu Item 2.

Option
| # | Name | Description |
| 1 | Setting | Change color for background, text |
| 2 | Categories | Select Menu. Change background navigation, color text for menu levels |
| 3 | Megamenu | Enable/Disable to display Mega Menu |
| 4 | Content of Megamenu | Add content for the Mega Menu style |
| 5 | Mega Menu Style 1 | Upload a new banner (2 banner) and insert hyperlink |
| 6 | Mega Menu Style 2 | Upload a new banner, select product and insert hyperlink |
Section
- 1Header and logo
- 2Footer
- 3Sidebar
- 4Newsletter Popups
- 5Collection List Page
- 6Collection Page
- 7Product Page
1 - Header and Logo

1. From your Shopify admin, click Online Store.
2. Click Customize for the theme you want to customize.
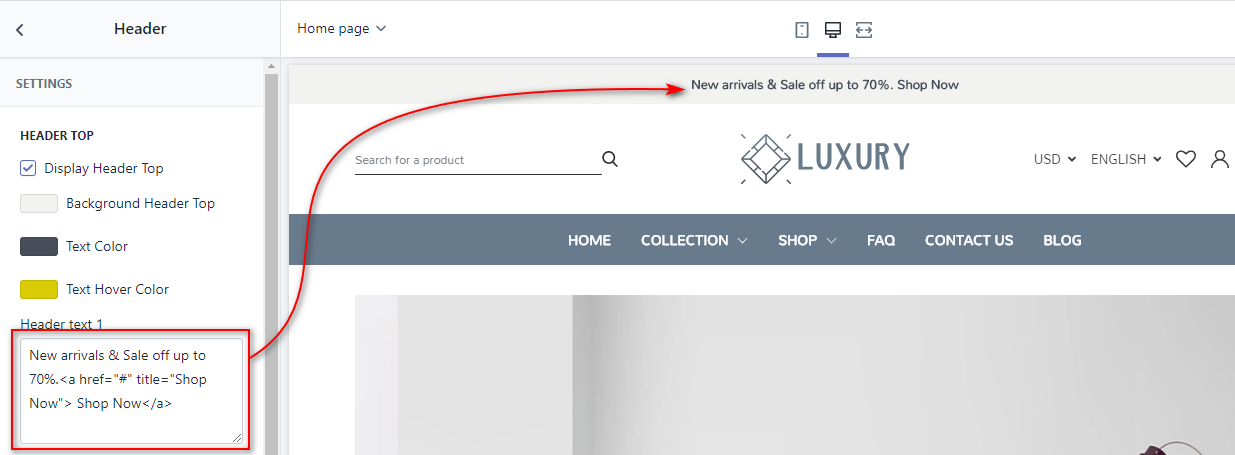
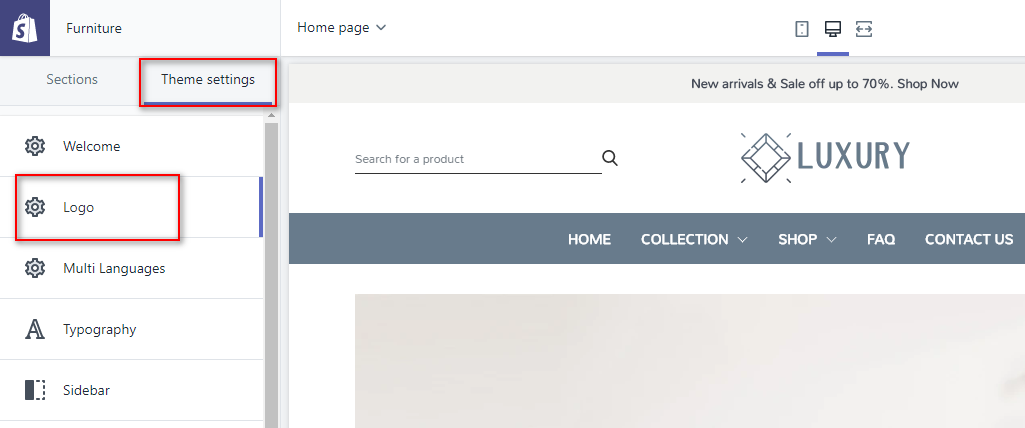
Click "Sections" tab go to Header section and change text, style here
Click Theme settings tab go to Logo Section and upload logo here
Option
| # | Name | Description |
| 1 | Logo | Upload logo |
| 2 | Header Top | Enable/Disable to display Header Top, Change color of background, text. And input content. |
| 3 | Header bottom | Change color of background, text |
| 4 | Header Search | Change color of background, text |
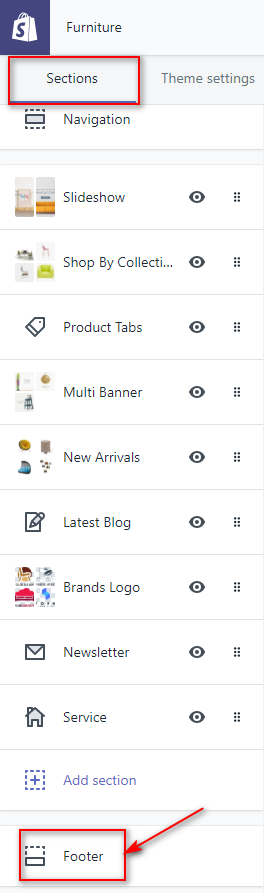
2 - Footer
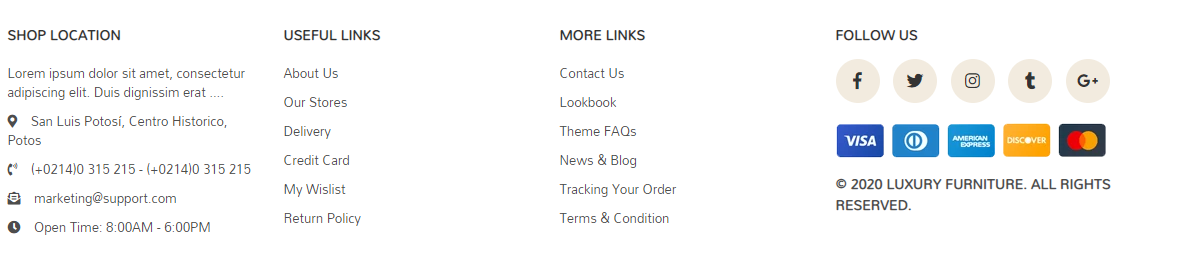
Go to Online Stores > Themes > Customize theme > Sections > Footer

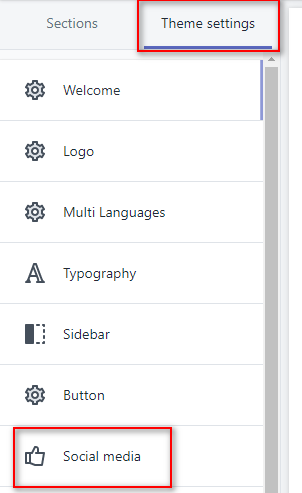
Social
Do to Theme settings > Social media
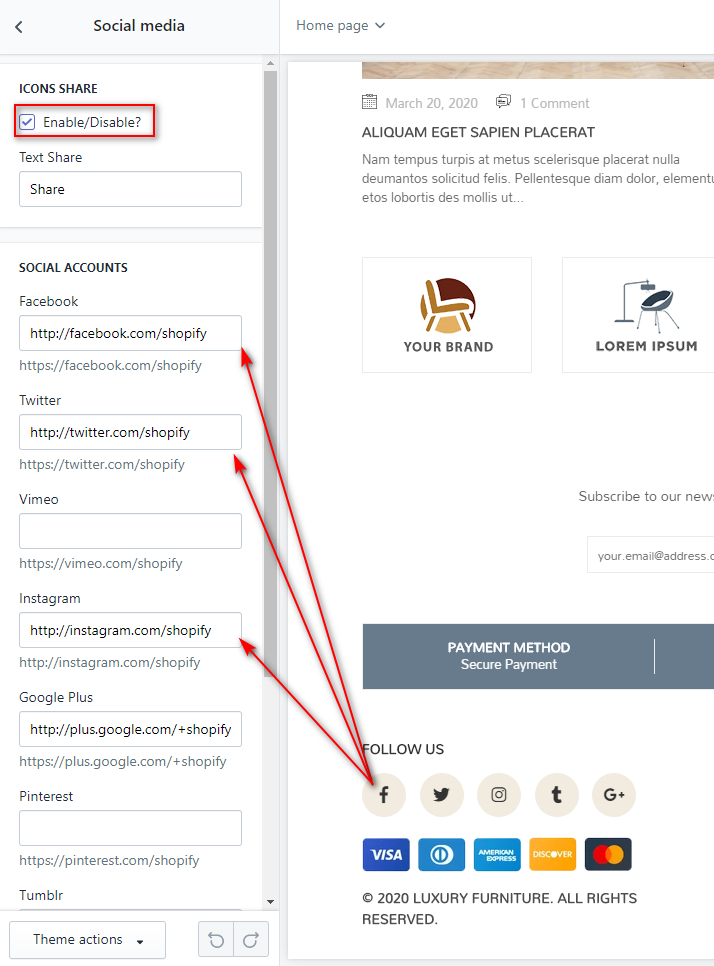
Option
| # | Name | Description |
| 1 | Setting | Change color of background, text, heading |
| 2 | Social | Enable/Disable to display social |
| 3 | Footer | Input content for Footer column 1, Footer column 2, Footer column 3, Footer column 4 |
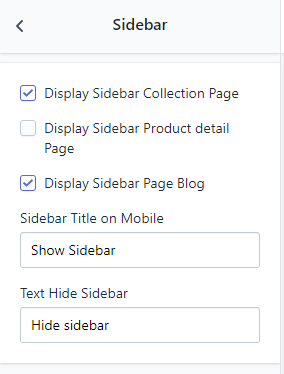
3 - Sidebar
In settings of Themes --> Customize -> Theme settings ->Sidebar
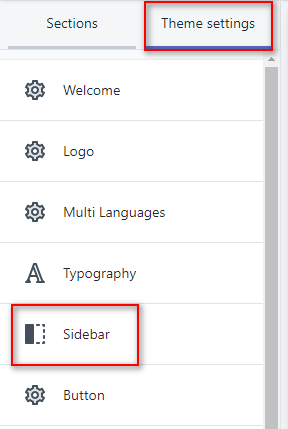
Checbox to Enable/Disable sidebar in Collection Page, in Product detail page, and sidebar in page Blog
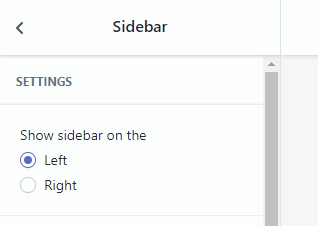
In settings of Themes --> Customize -> Sections ->Sidebar
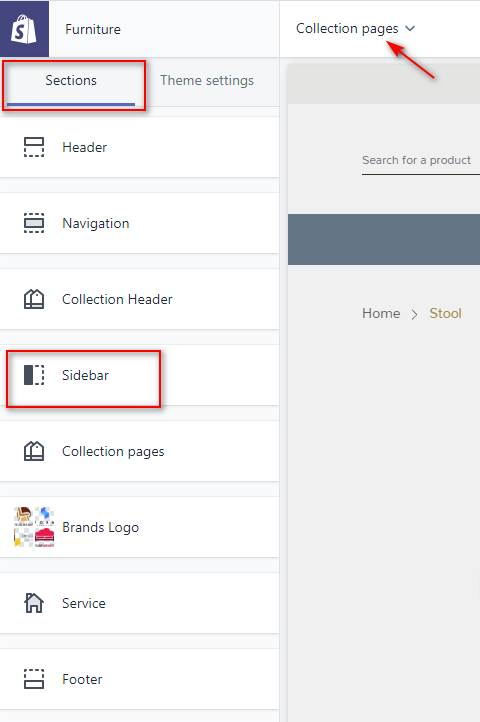
Show sidebar on the Left / Right
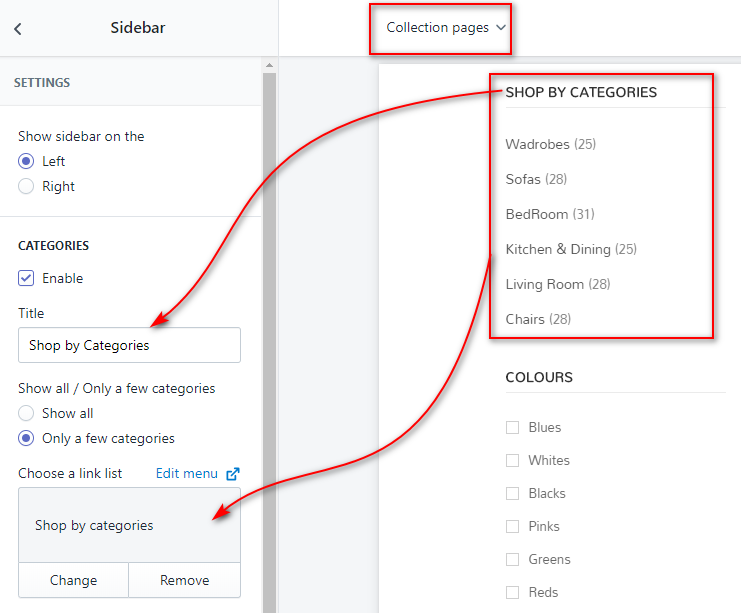
Configure collection sidebar
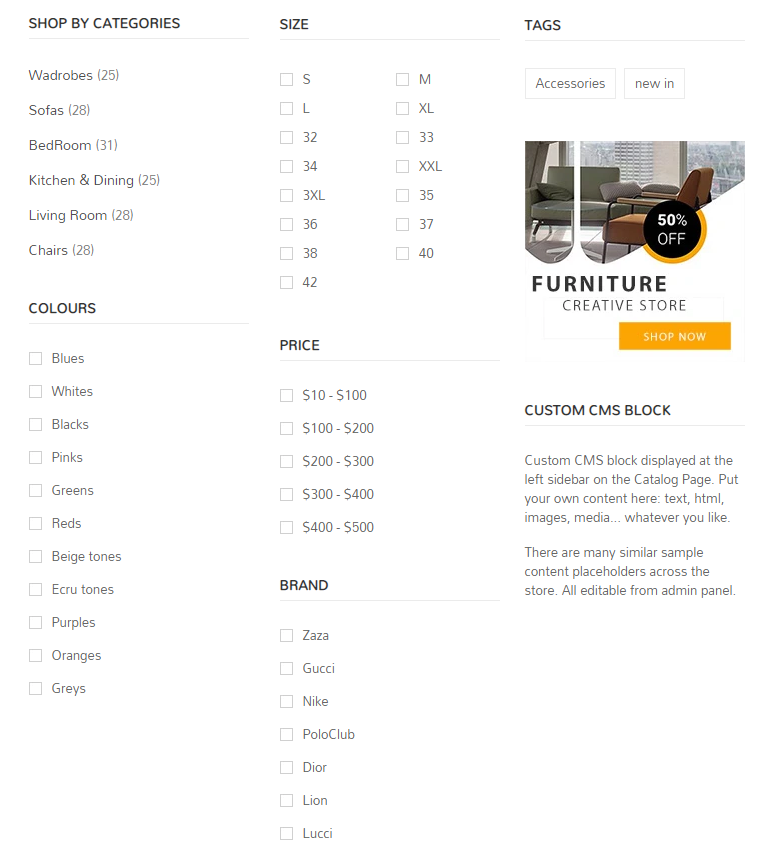
In settings of Themes --> Customize -> Sections(Go to Collection page) ->Sidebar
Shop by Categories
Filter
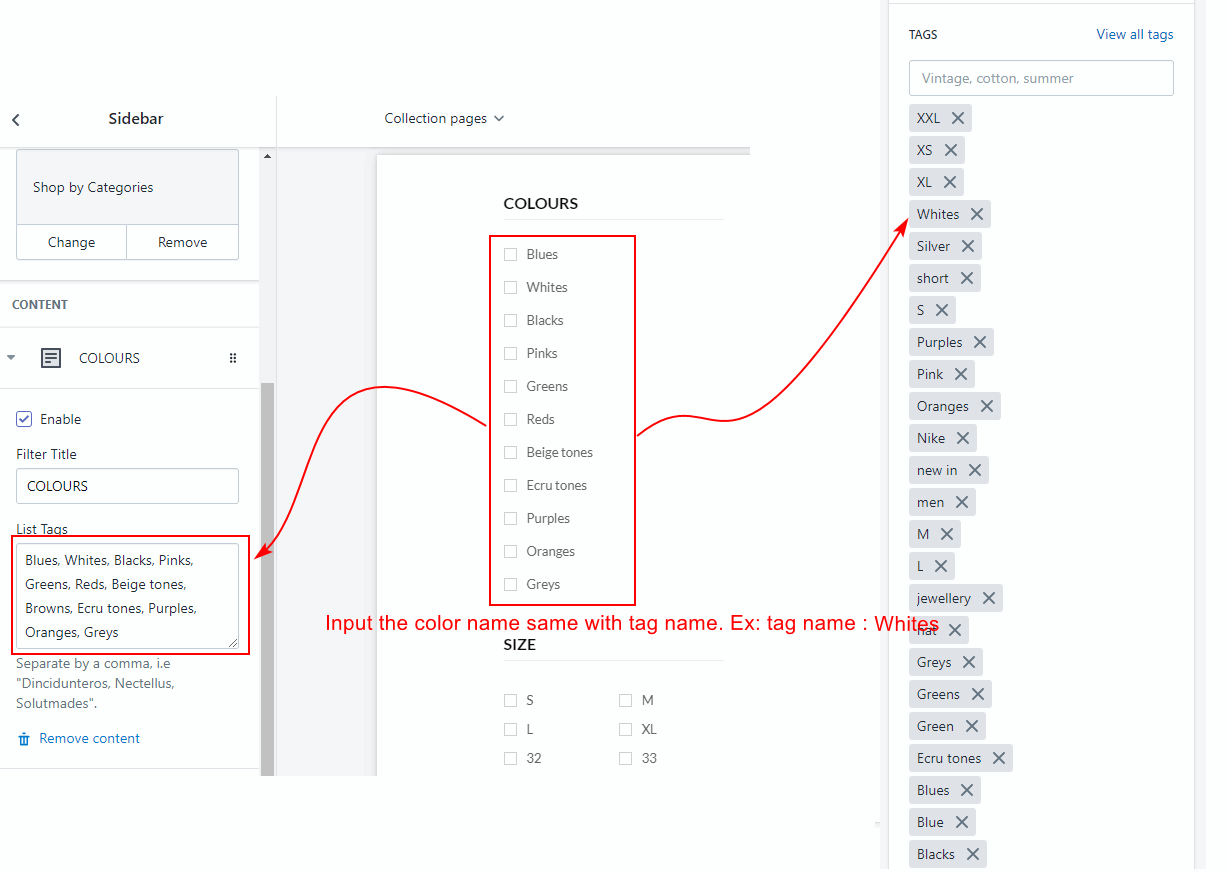
Advanced Filtering sidebar is built on top of tags on Shopify. To make the feature work, you need to configure options in theme setting and add tags to your products (like variant option)
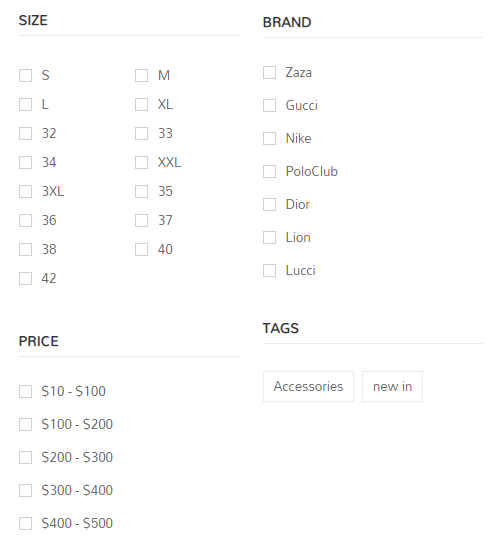
1. We offer 4 options for you to show in your site: Color, Price, Brand, and Product Tags.
Filter by color
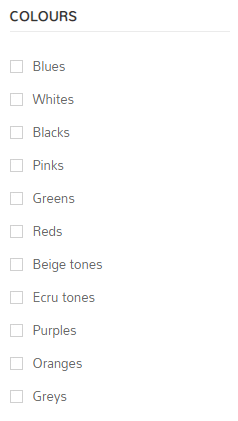
Click Add content -> Filter By
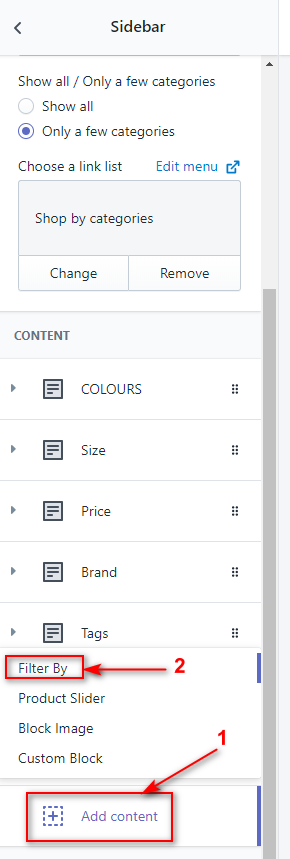
Add color
Similar for Filter by price, Filter By Size, Filter By Price, Filter By Brand and Product Tags
Click Add content -> Filter Text
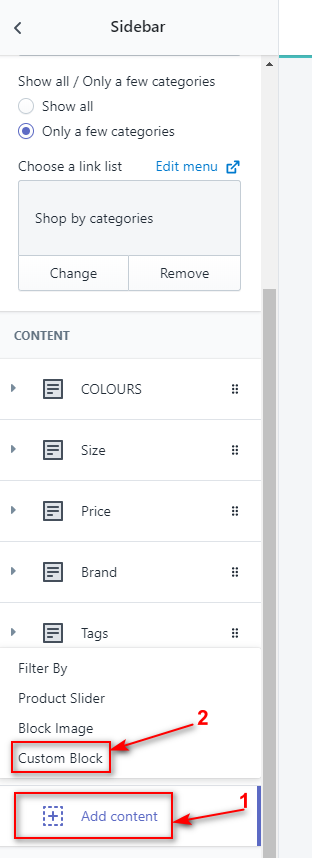
Click Add content -> Block Image
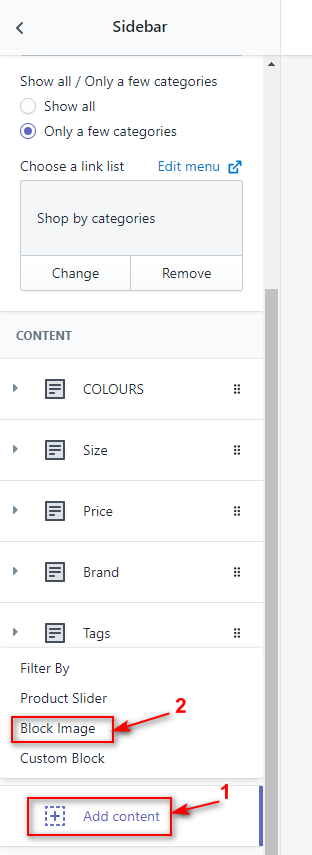
Click Add content -> Block Product
2. Then go to Products, click on the product that you'd like to show these options.
In the Organization sections, you need to put tags which you just filled in the above sidebar option for products you would like to show (using a comma to separate different tags).
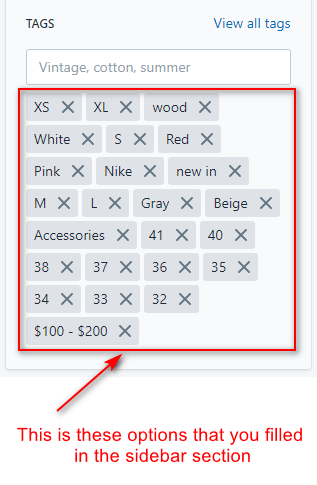
For example:
If you would like to filter by color and price, your products have below options: Red color, White color, Blue color, Black color, Under $100, $100 - $200, Above $200. Then you need to fill in theme settings all these options. For a product A which has below options: Red color, Gray color, Less than $299, $300 - $899, you need to add below tags: Red, White, Blue, Black, $100 - $200, Above $200 for this product.
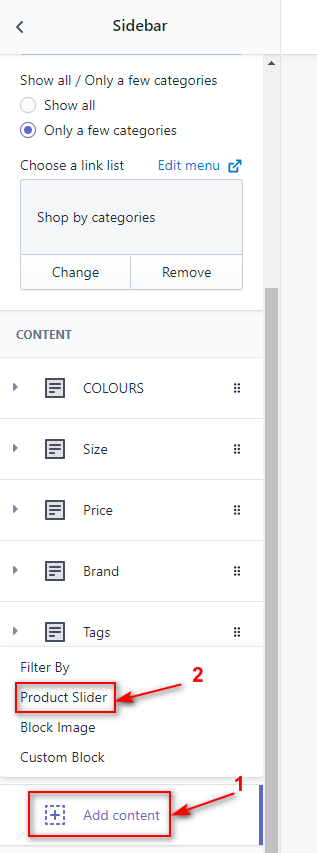
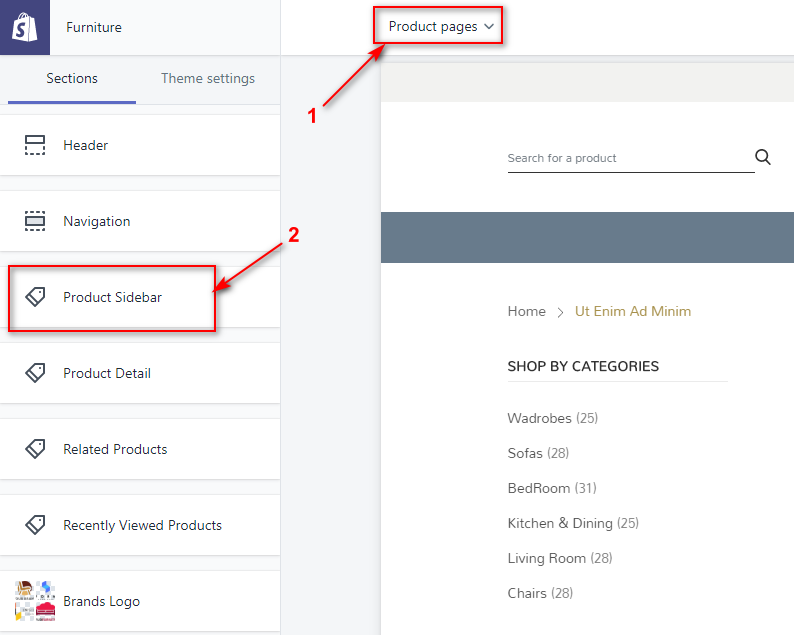
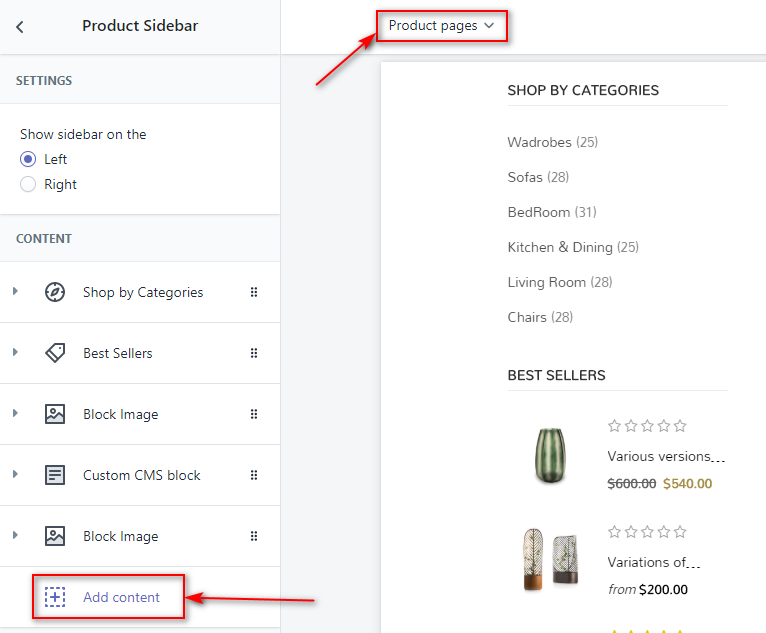
Configure product sidebar
Click Add content
Configure Blog sidebar
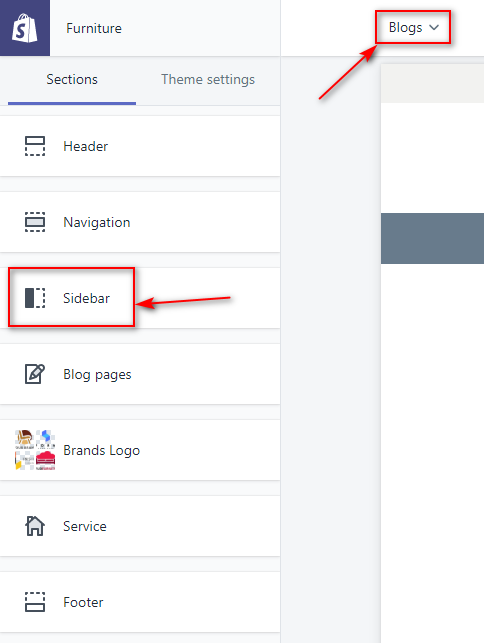
Click Add content

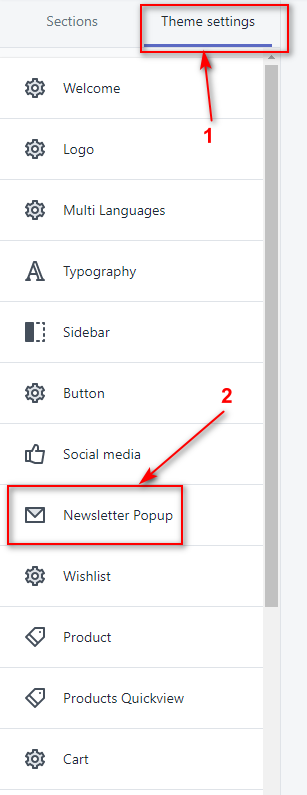
4 - Newsletter Popups
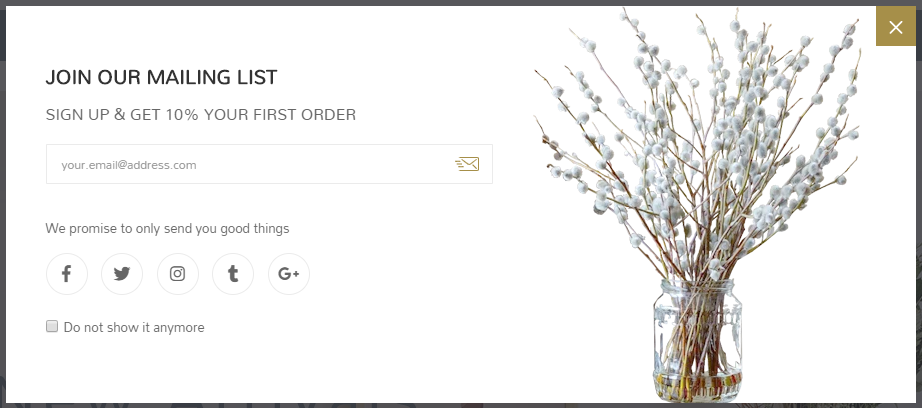
Go to Theme settings > Newsletter Popups
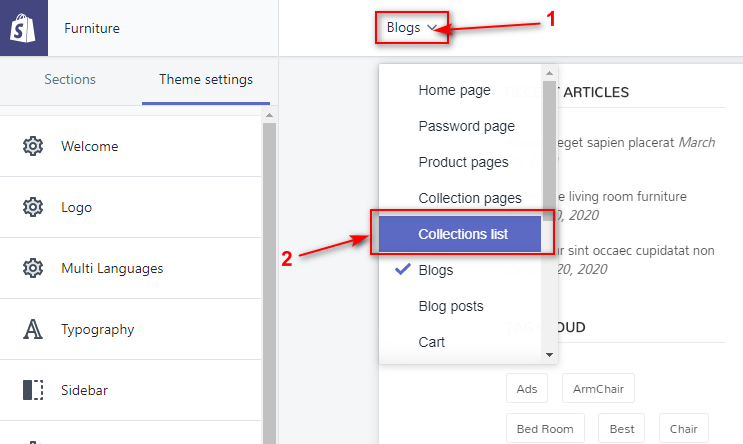
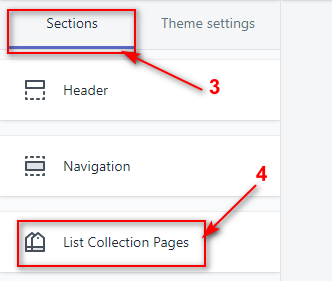
5 - Collection List Page
Go to Collections list page
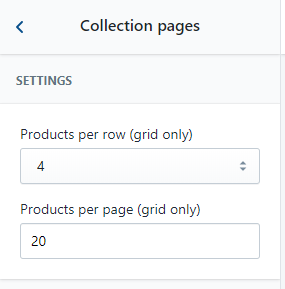
6 - Collection Page
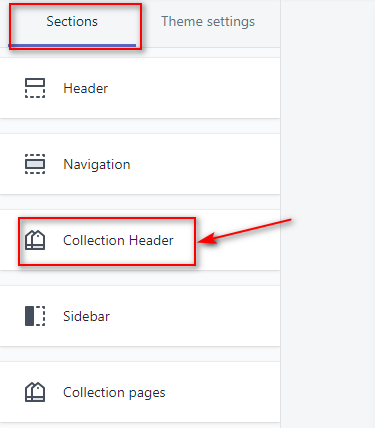
Head
Configure collection header
In settings of Themes --> Customize -> Section ->Collection Header
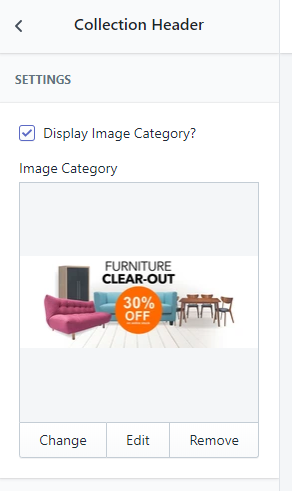
Content
Settings product options
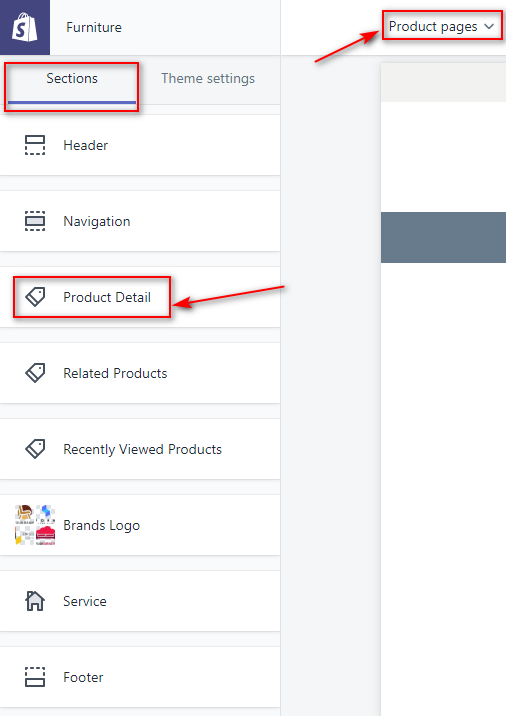
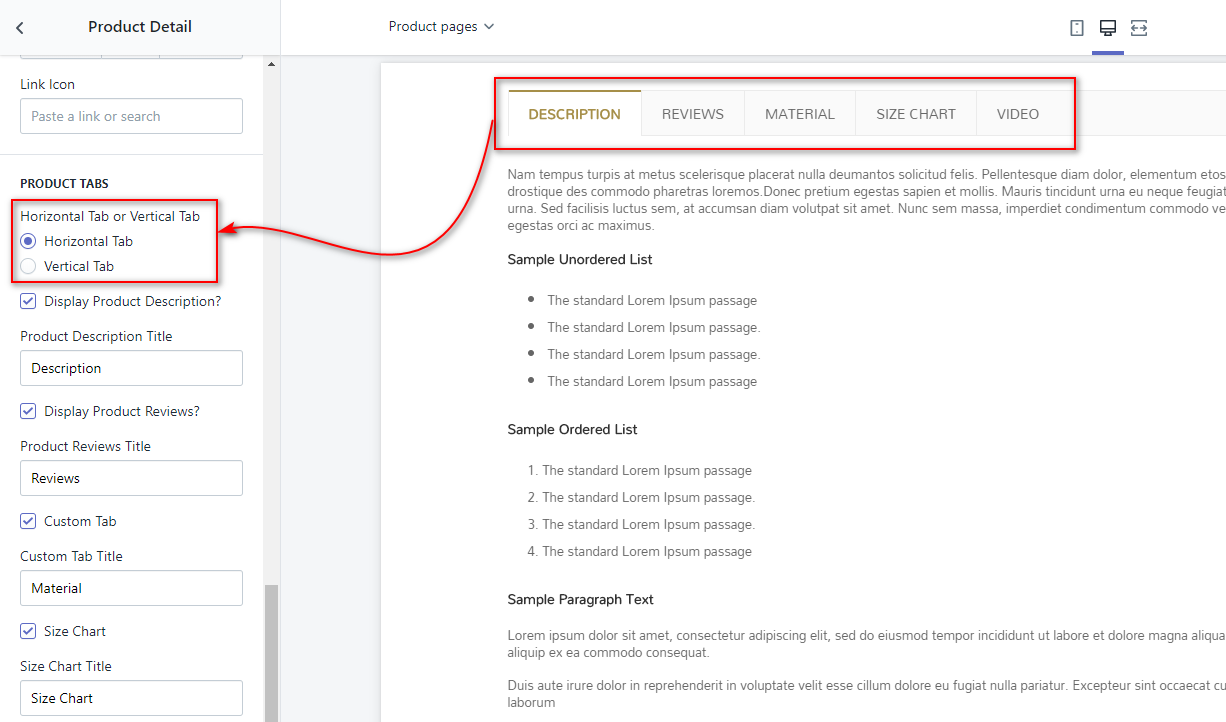
7 - Product Page
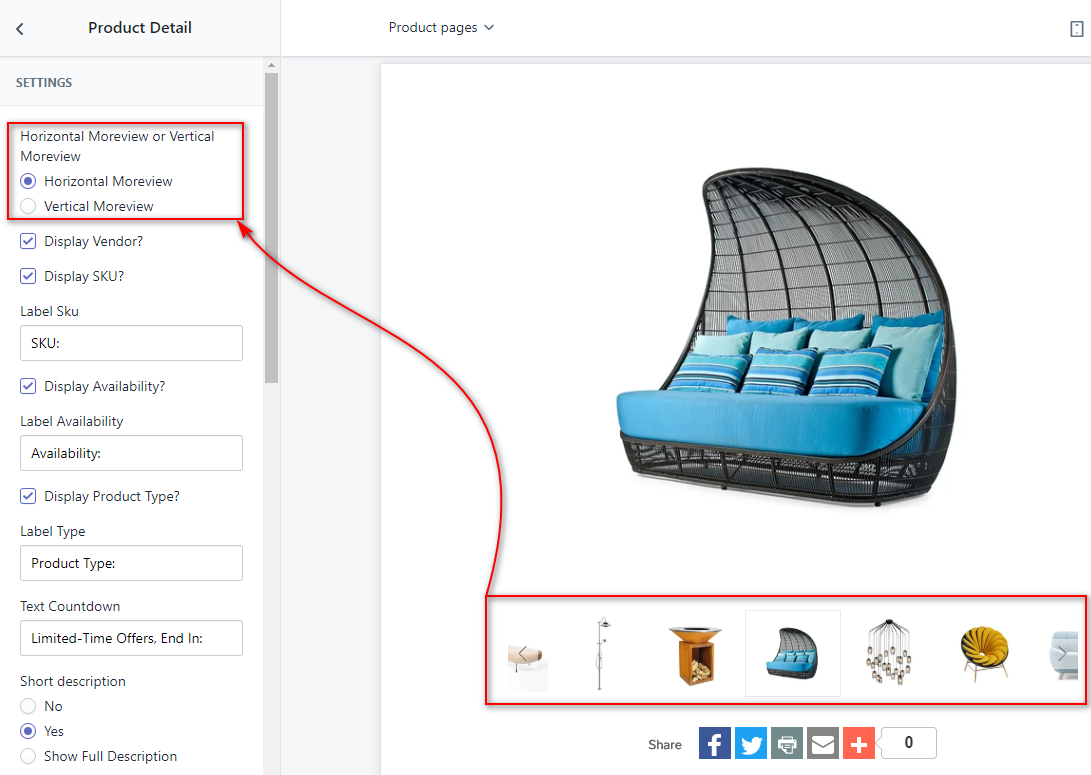
In settings of Themes --> Customize -> Section ->Product Detail
Horizontal Moreview or Vertical Moreview for Thumbnail product
Product Tab
Showing Short Description differently with Long Description.
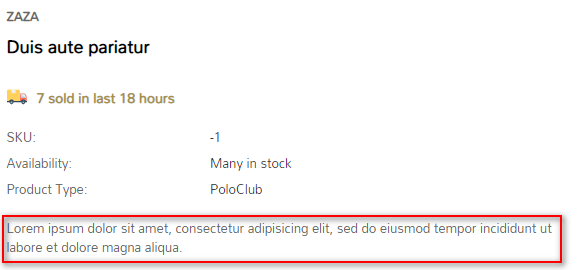
1. From your Shopify admin, click Online Store --> Products -> Click products you would like to show Short Description differently with Description.
2. At the Description of product, you need to put the Short Description in the last line of Description and follow the below structure.
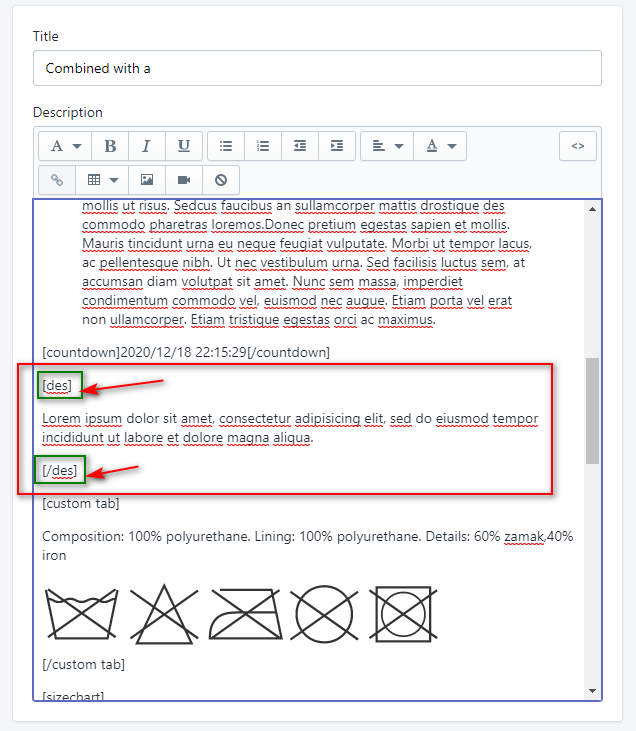
[des]Content of Short Description here[/des]
Homepage
- 1Slideshow
- 2New Collection This Section
- 3Section Product Tab
- 4Section Multi Banner Block
- 5Section Product (Trending This Week)
- 6Section One Banner Block
- 7Section Recent News
- 8Section Brand
- 9Section Testimonials
- 10Section Newsletter
- 11Section Service Block
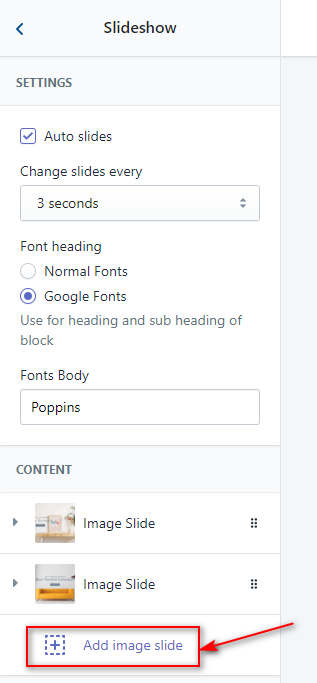
1 - Slideshow

In settings of Themes --> Customize -> Sections -> Slideshow
Click add section slideshow

You can add image for slide
Option
| # | Name | Description |
| 1 | Auto slides | Enable/ Disable. Change slides every. |
| 2 | Add content | Add image Slide |
2 - New Collection This Section

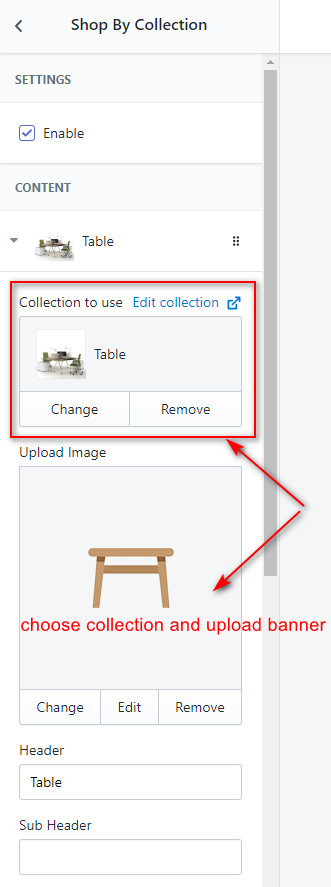
In settings of Themes --> Customize -> Sections ->click add section Shop By Collection
Click add section Shop By Collection
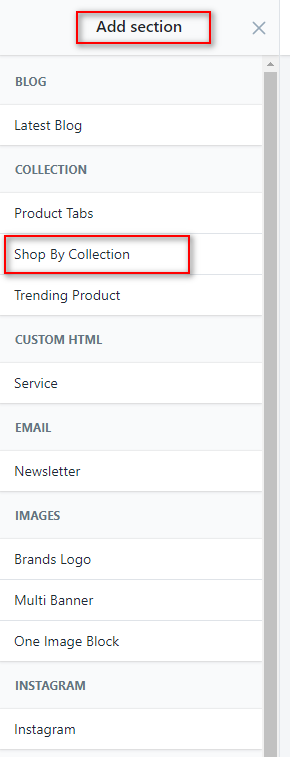
Click add Collection
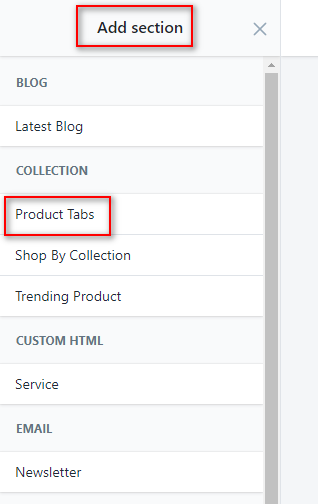
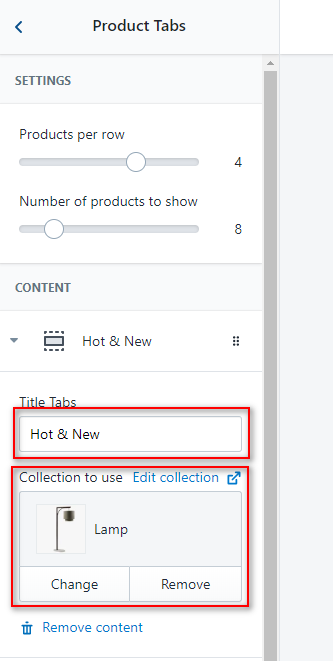
3 - Section Product Tab
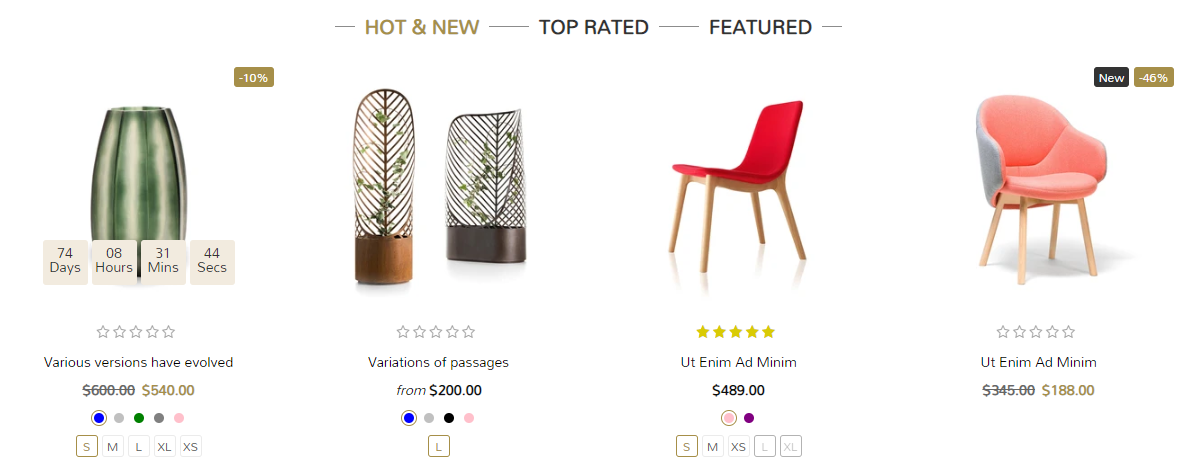
In settings of Themes --> Customize -> Sections ->click add section Product Tabs
Click add section Product Tabs
Click add Title Tab and choose collection show in tab
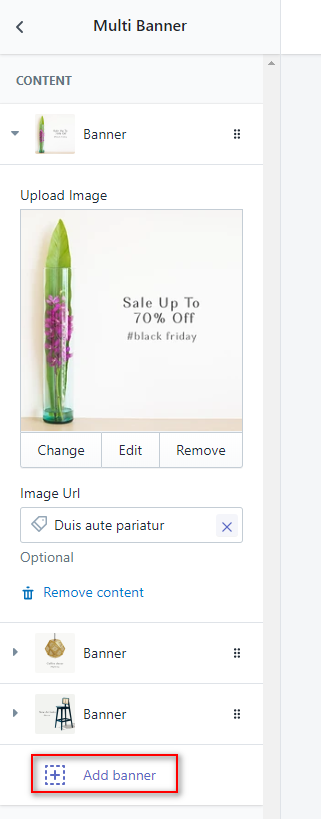
4 - Section Multi Banner Block
In settings of Themes --> Customize -> Sections ->and click add section Multi Banner

Click add banner and upload image, add Url
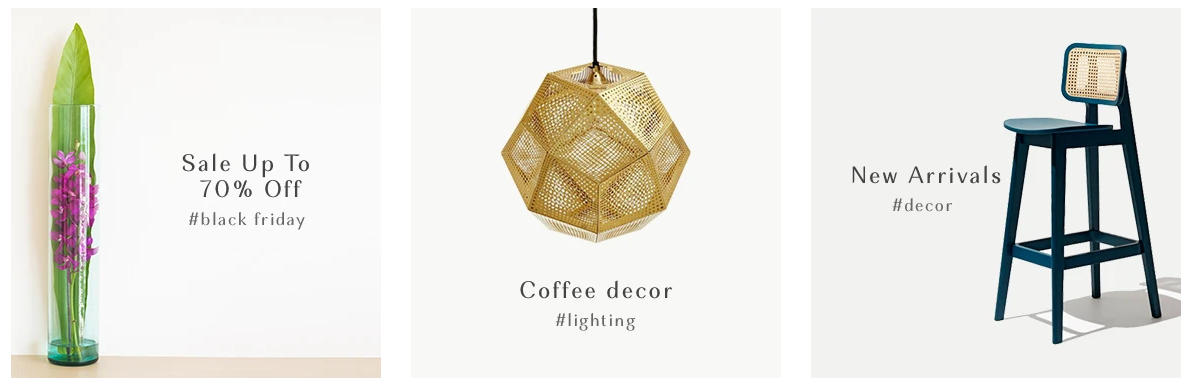
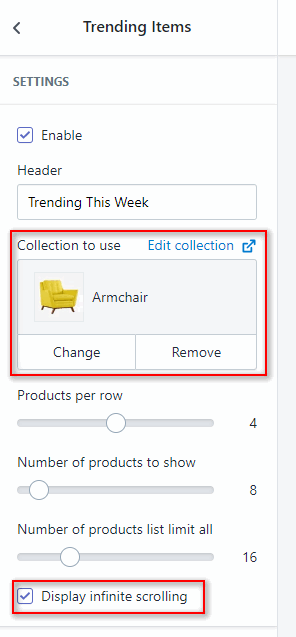
5 - Section Product (Trending This Week)
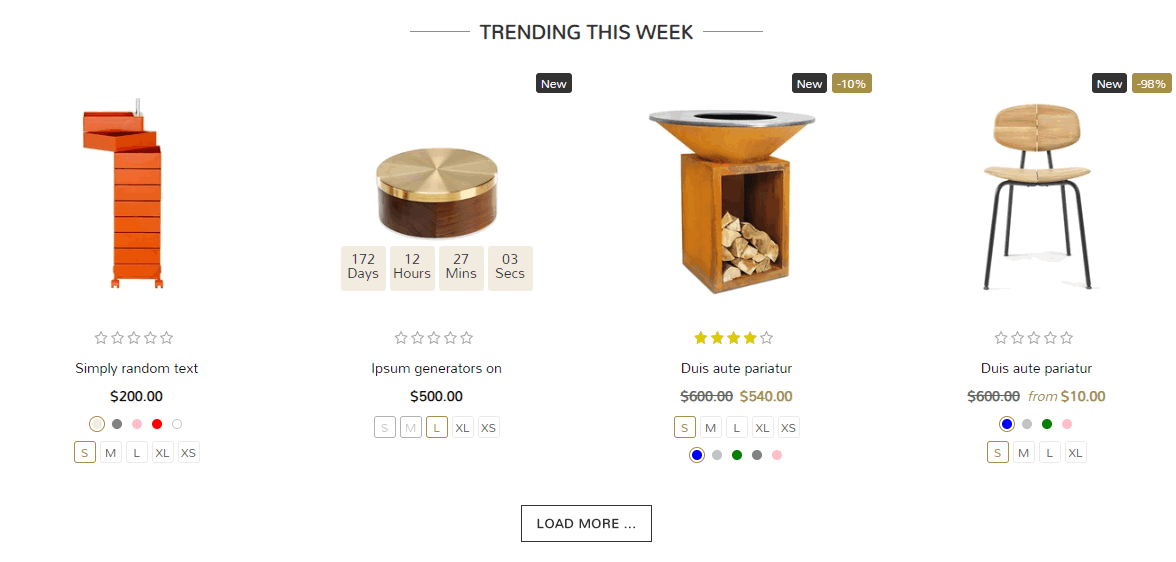
In settings of Themes --> Customize -> Sections ->and click add section Trending Product
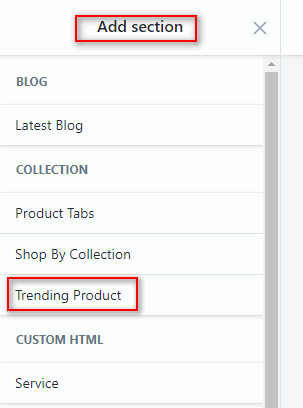
Click add product to show
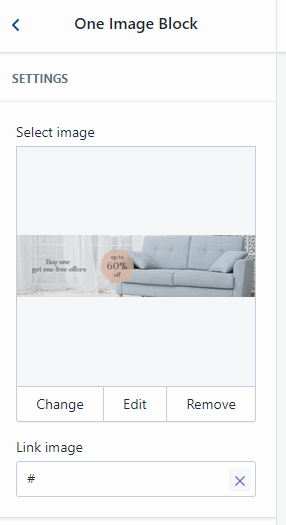
6 - Section One Banner Block
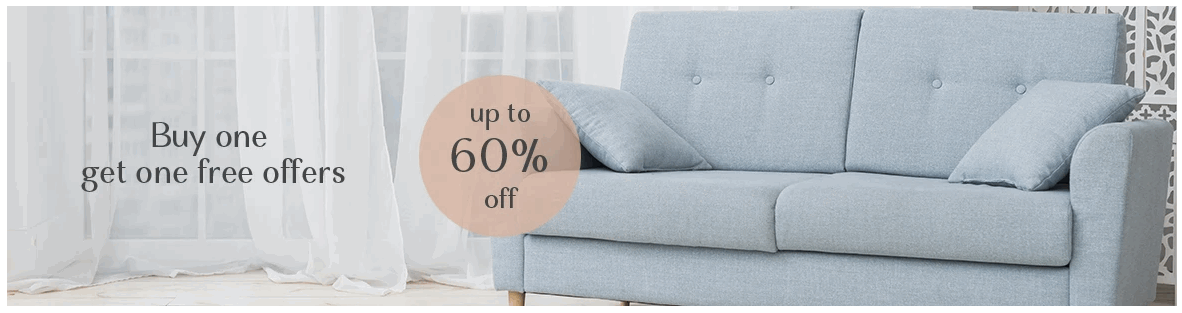
In settings of Themes --> Customize -> Sections ->and click add section One Image Block
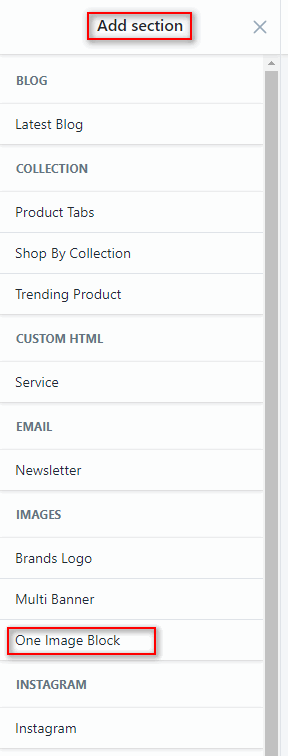
Click add banner and upload image, add Url
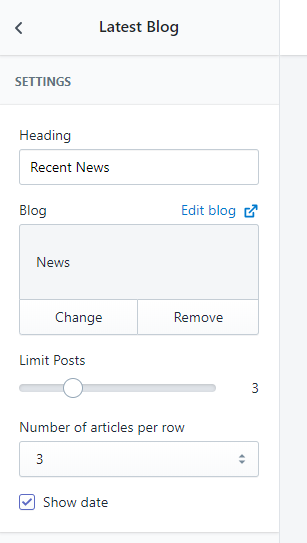
7 - Section Recent News
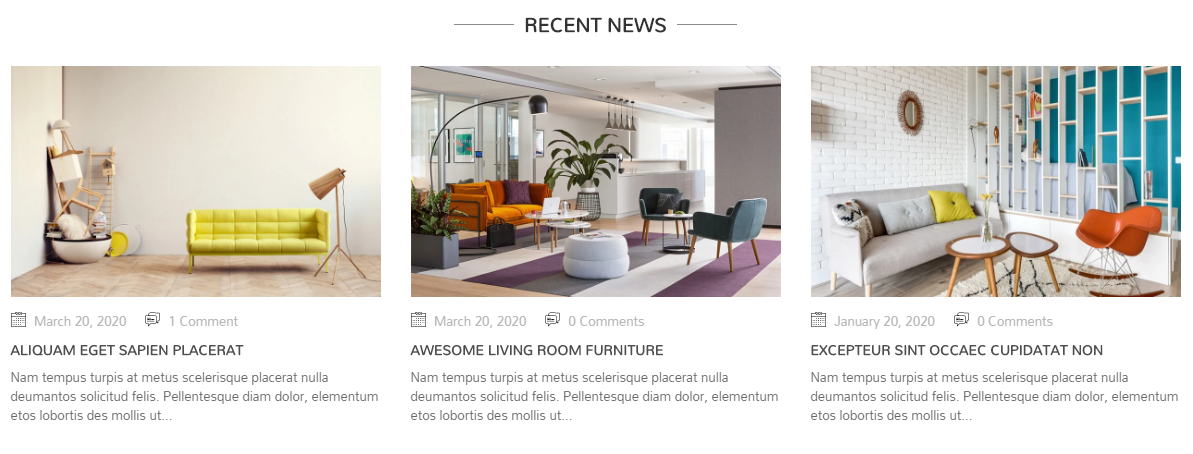
In settings of Themes --> Customize -> Sections ->and click add section Latest Blog

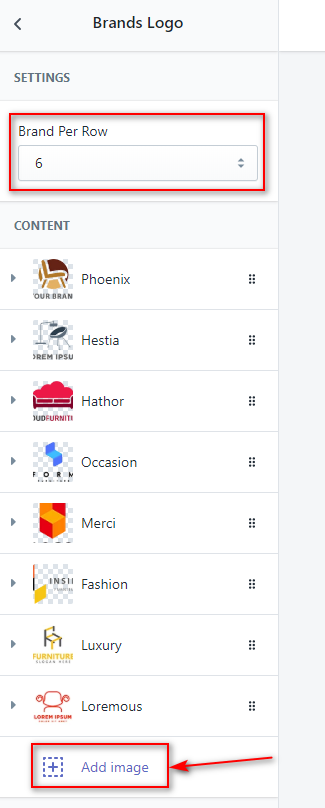
8 - Section Brand

In settings of Themes --> Customize -> Sections ->and click add section Brands Logo
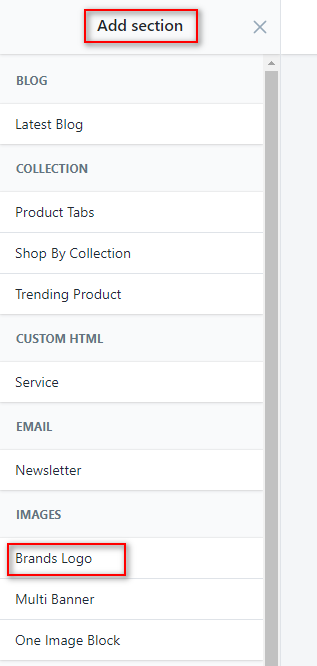
Click add image
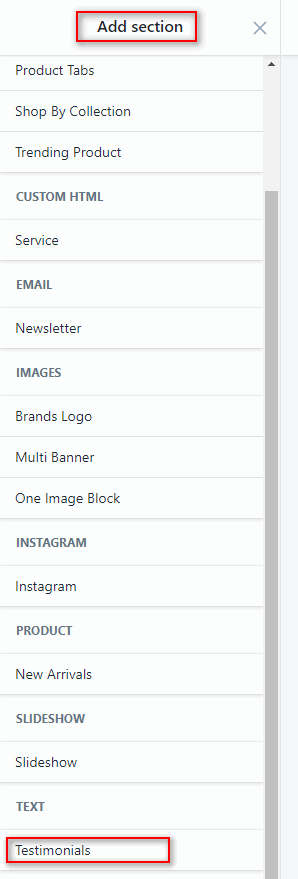
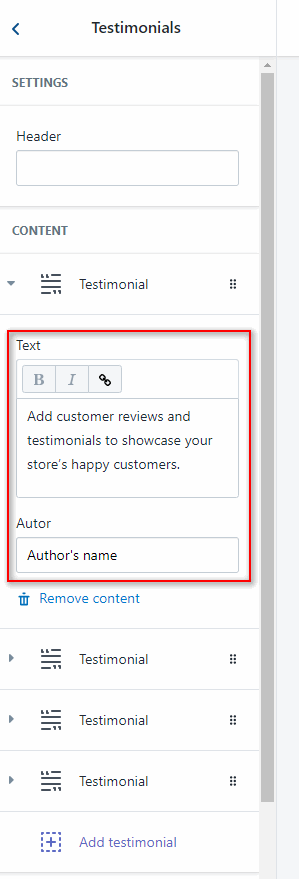
9 - Section Testimonials

In settings of Themes --> Customize -> Sections ->and click add section Testimonials
Click add text
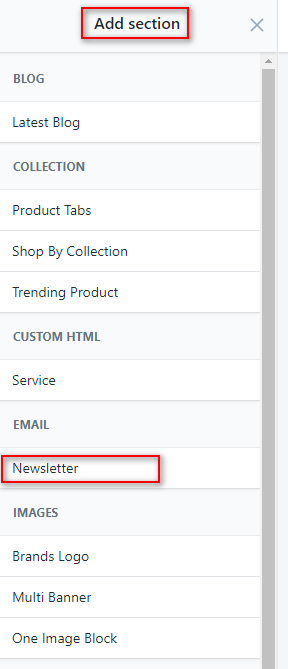
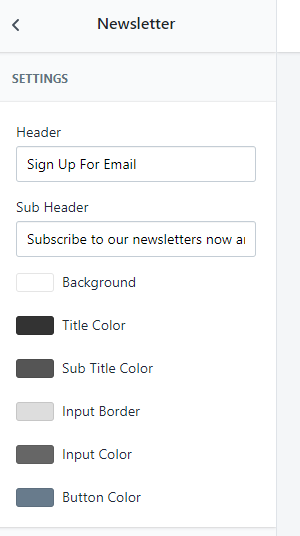
10 - Section Newsletter

In settings of Themes --> Customize -> Sections ->and click add section Latest Blog
And settings here
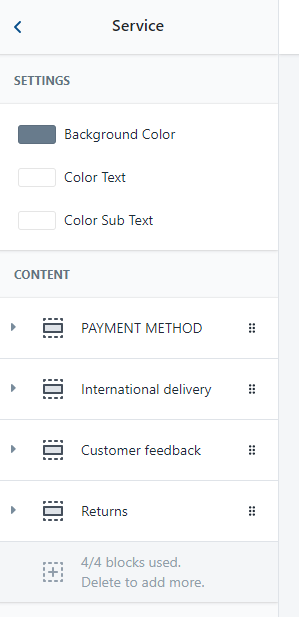
11 - Section Service Block

In settings of Themes --> Customize -> Sections ->click add section Block HTML
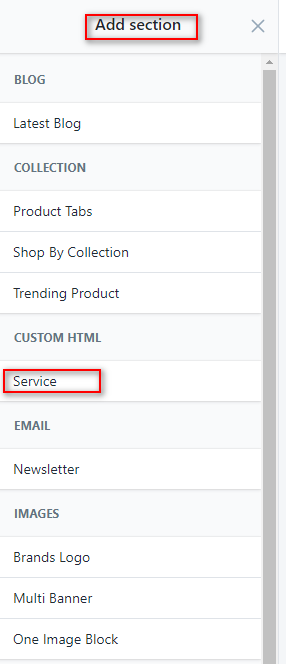
You can add new block
Pages
Pages are the backbone of your website, and most likely you will setup several of them. Pages are a blank canvas that allow you to add content with our shortcode elements. There are different page templates to choose from, each serving a purpose to help you build a finished site.
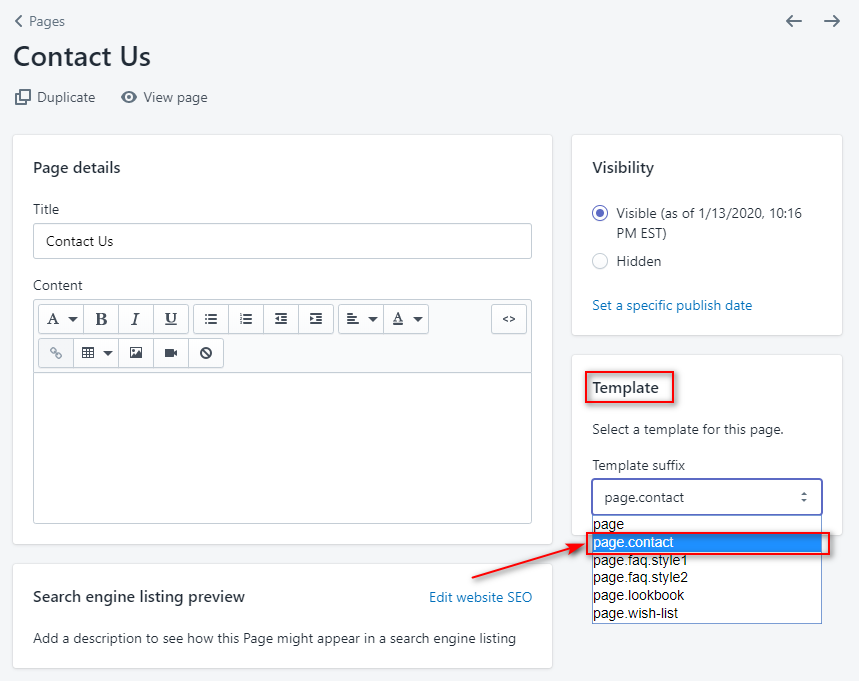
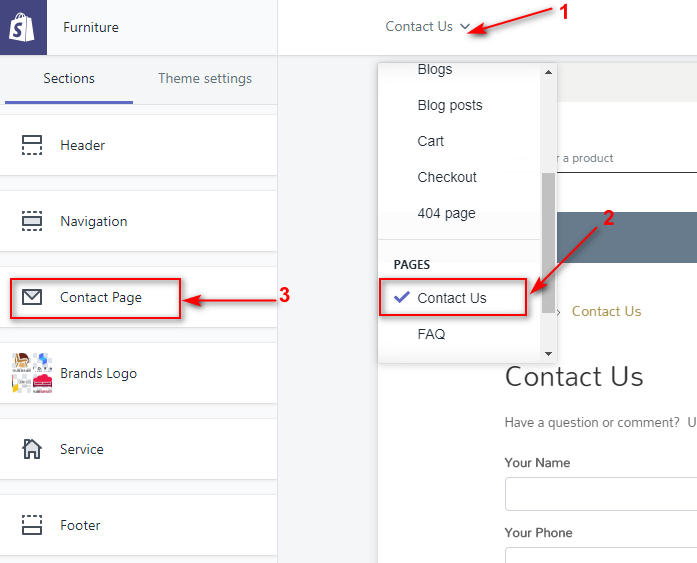
Setting Up The Contact Page
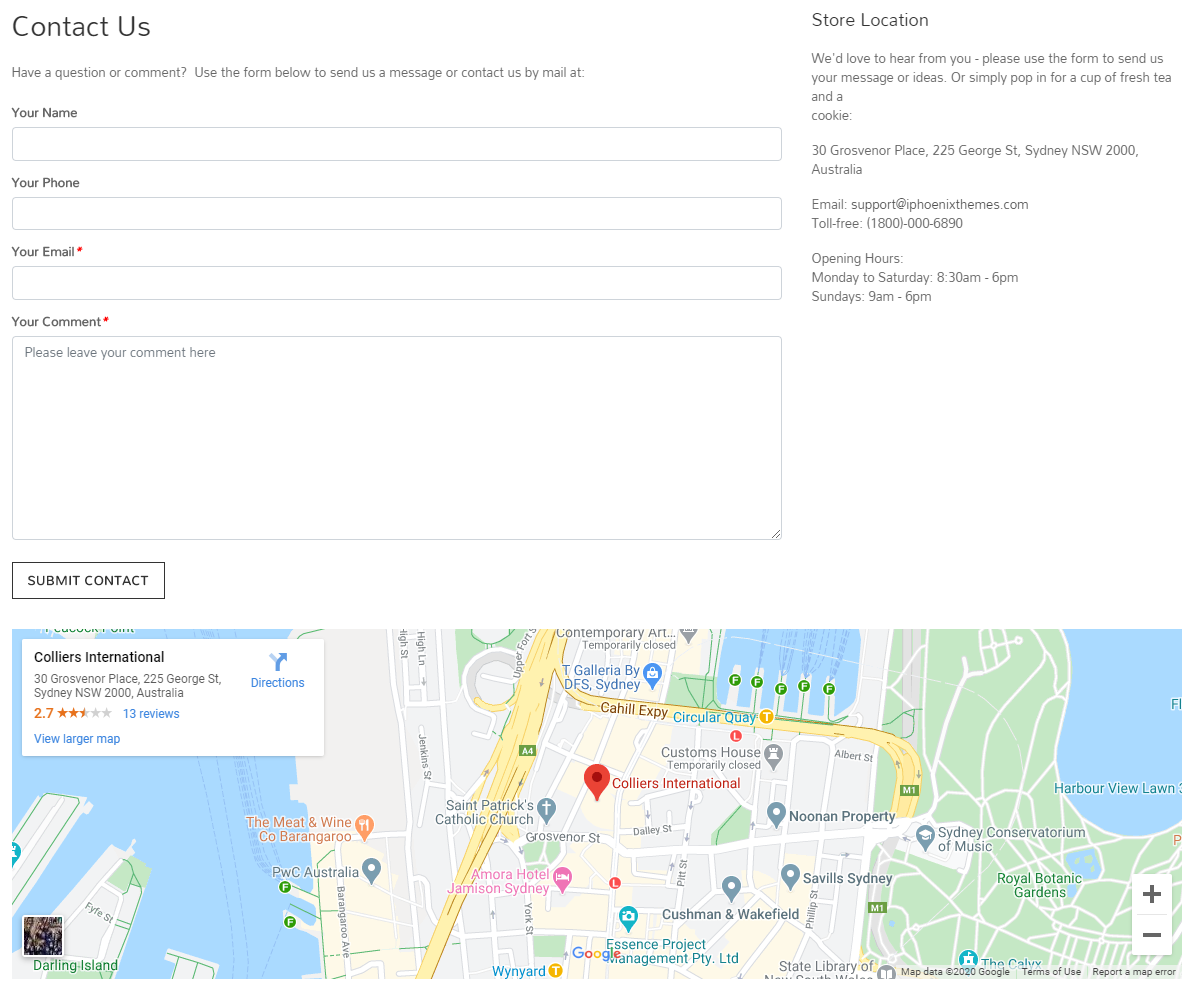
Login to your Shopify admin panel, click Online Store --> Pages --> Add page.
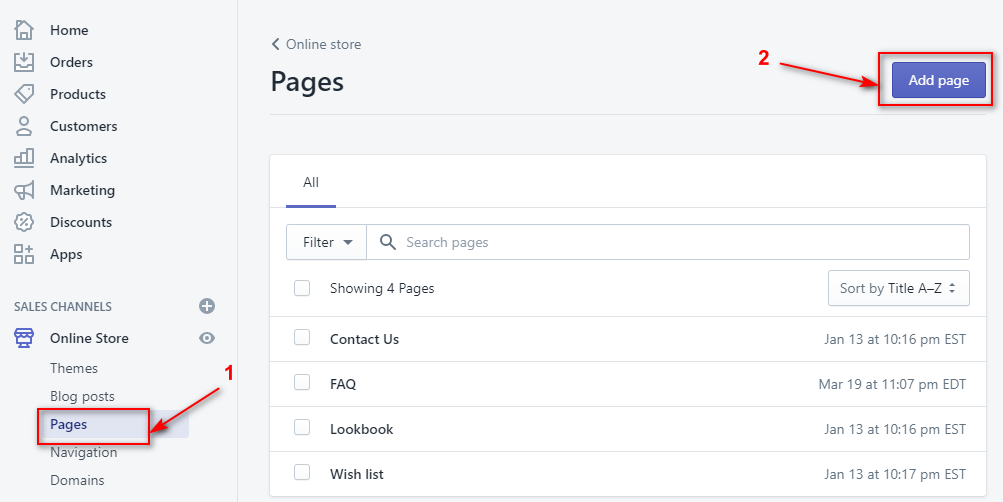
In Template select Template suffix is "page.contact"
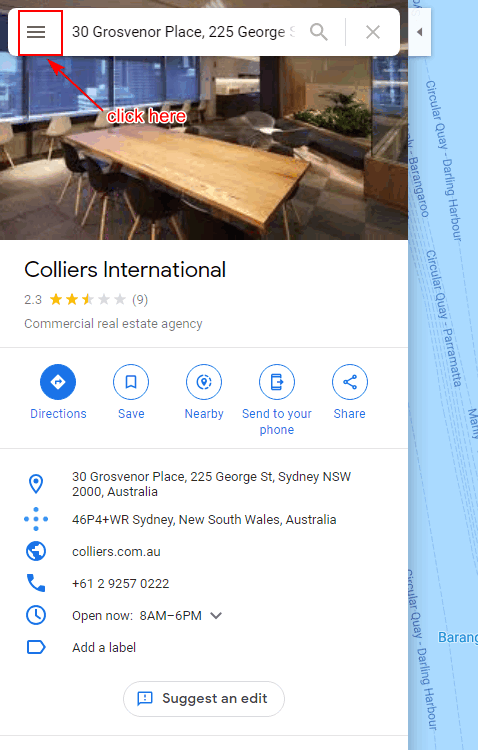
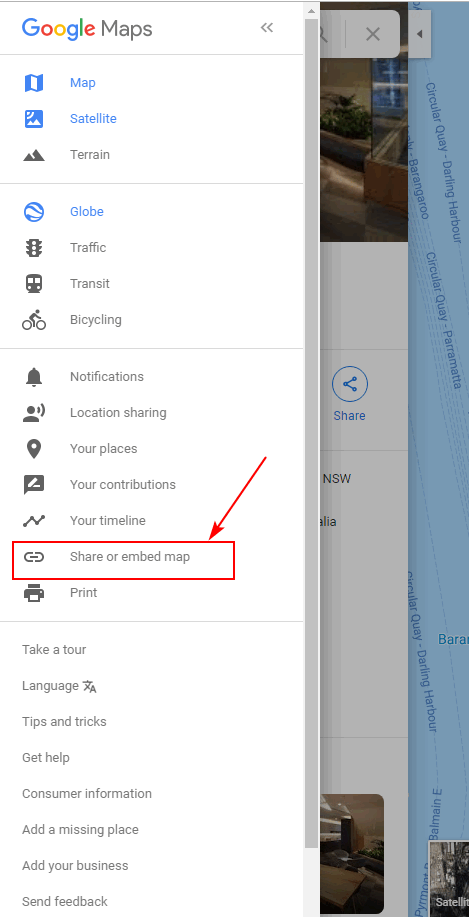
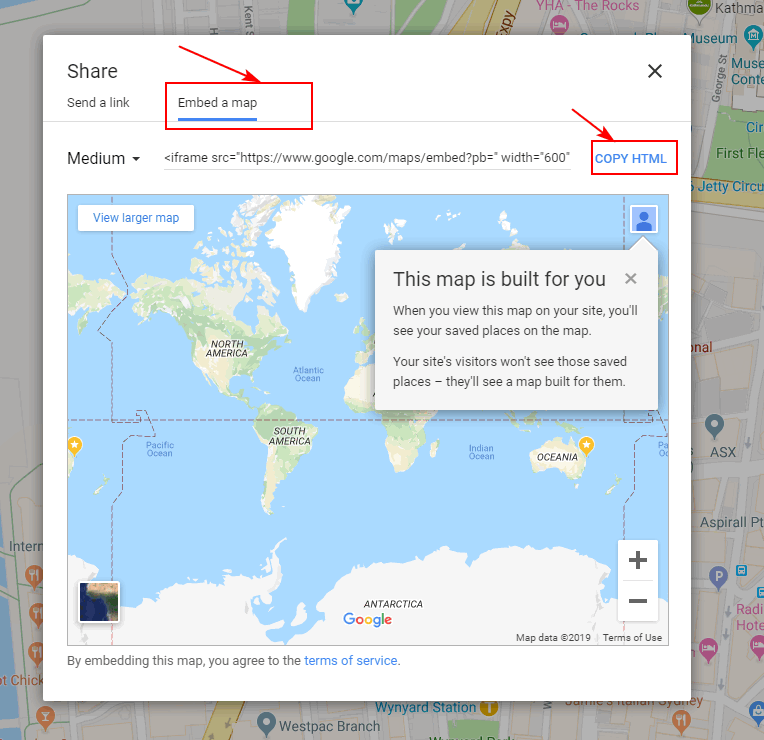
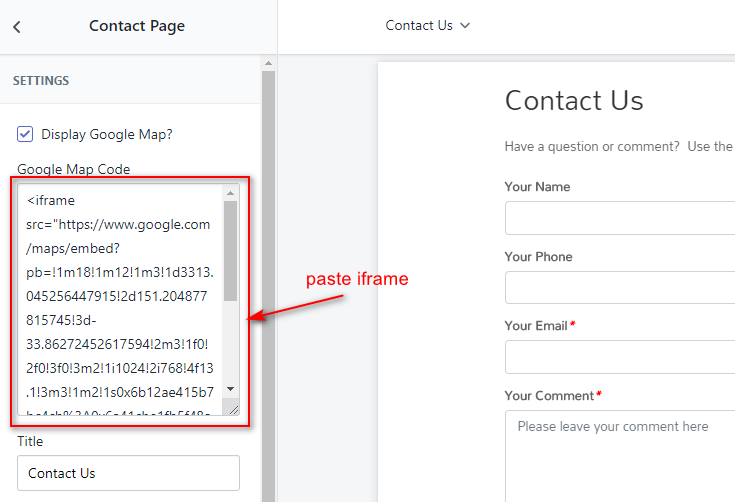
Google maps
There is also a guide of how to embed a goole maps directly into the contact page. Please go to Google maps and find your desired location. Then copy the maps iframe code and paste it into the text editor.
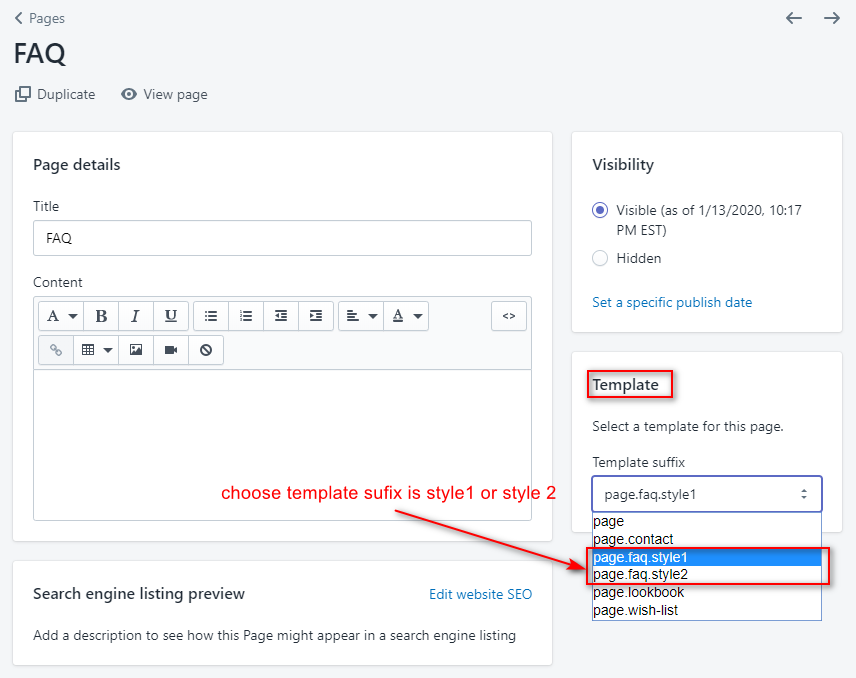
Setting Up The FAQ Page
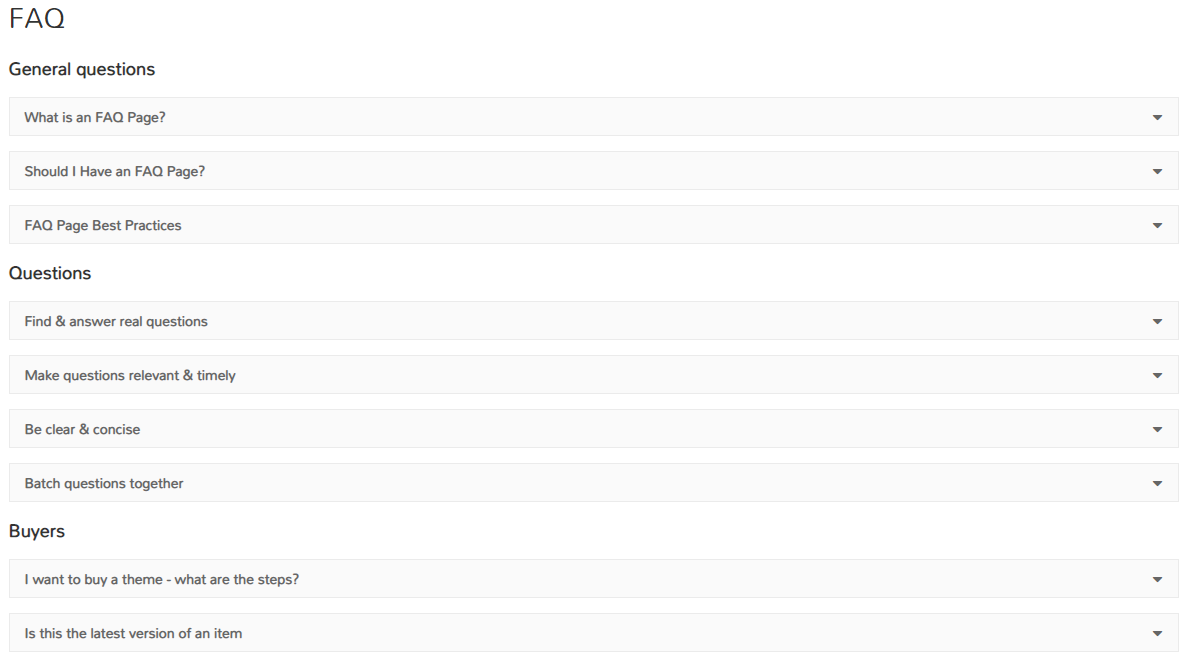
Login to your Shopify admin panel, click Online Store --> Pages --> Add page.
In Template select Template suffix is "page.faq.style1" or "page.faq.style2"
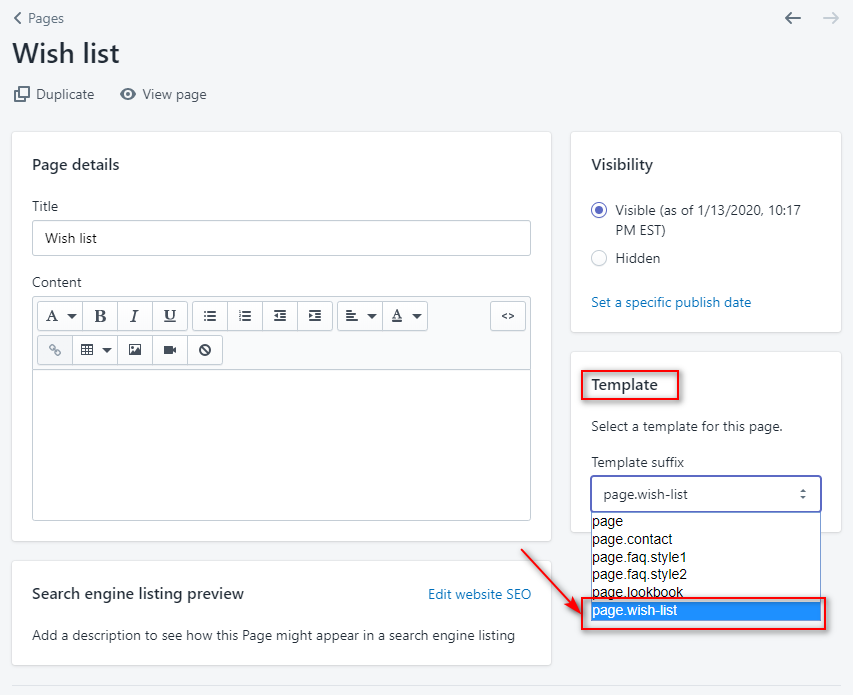
Setting Up The Wishlist Page

Login to your Shopify admin panel, click Online Store --> Pages --> Add page.
In Template select Template suffix is "page.wish-list"
Theme Settings
Furniture is extremely powerful and a lot of that power comes from our individual page meta options. Each page you create has a full set of options to choose from allowing you to customize each individual page. Each page you open in your WordPress admin will have a Page Options that contains all the different settings. There are several different sections included in the Page Options box, each with its own title and purpose. Some settings will only work if you use a specific template, for example the "For Masonry Colored Template" are only to be used if you select one of our portfolio page templates ( Portfolio Masonry Template ).
Font
In settings of Themes --> Customize -> Theme settings -> click Typography
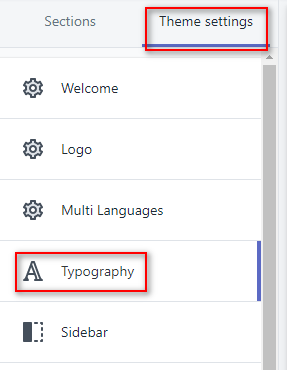

Typography
| # | Name | Description |
| 1 | Font | Choose font |
| 2 | Body | Setting background body, font size, color and link color |
| 3 | Heading and Title | Setting font size, color and link color |
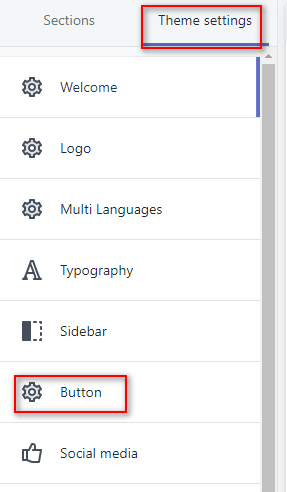
Button
In settings of Themes --> Customize -> Theme settings -> click Button

| # | Name | Description |
| 1 | Primary Button | Use for Shop now, View Gallery in block homepage, Show More when hover, Add to cart in Product Detail... |
| 2 | Parimary Button Hover | Use for Add to cart, Selection Options, ... and hover style when over the button |
| 3 | Second Button | Use for buttons in Featured Products at sidebar, Read More at Blog Page |
| 4 | Second Button Hover | Use for Add to cart when hover in Detail Page, Checkout when hover in Dropdown Cart,... |
| 6 | Third Button | Use for other buttons |
| 7 | Third Button Hover | Use for other buttons when hover |
Wishlist
In settings of Themes --> Customize -> Theme settings -> click Wishlist

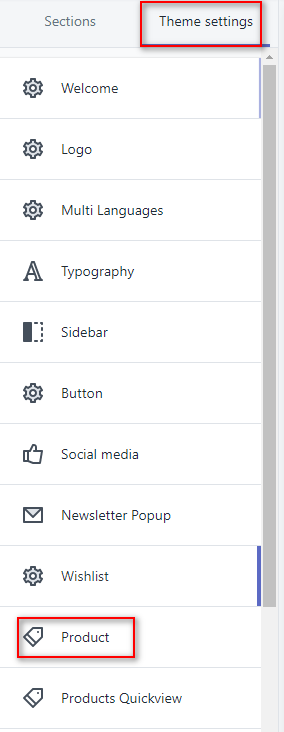
Product Image
In settings of Themes --> Customize -> Theme settings -> click Product

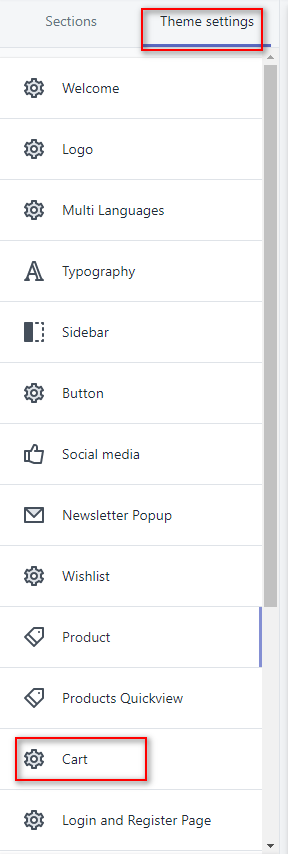
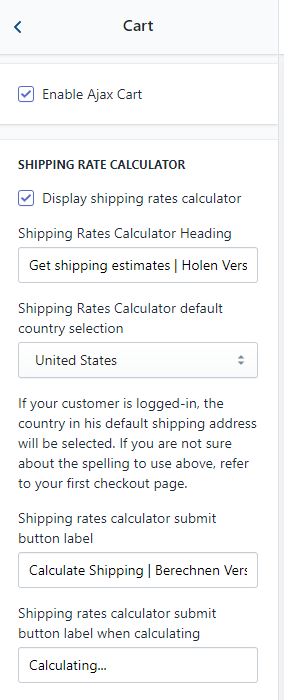
Cart
In settings of Themes --> Customize -> Theme settings -> click Cart
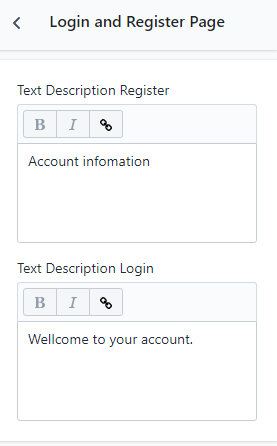
Login and Register Page
In settings of Themes --> Customize -> Theme settings -> click Login and Register Page

Money options
In settings of Themes --> Customize -> Theme settings -> click Money Options


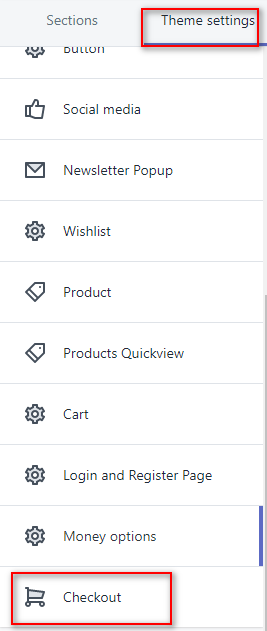
Checkout
In settings of Themes --> Customize -> Theme settings -> click Checkout

Support
If you have any questions, feel free to contact us at comments.
© https://iphoenixthemes.com/ 2020